DJI Mavic 2 Pro for Landscape Photography, A Review

I have to admit, I’ve wasn’t too interested in drones. My friend bought the DJI Phantom when it first came out and we flew it a few times but the size of the drone + low image quality really didn’t excite me. I do most of my landscape photography on Sony’s A7R line and comparing full frame images captured with high-end glass to a tiny camera mounted on a drone is not a fair comparison. However, when DJI announced the Mavic 2 Pro it definitely caught my interest. The Pro was obviously marketed towards landscape photographers while the Zoom was tailored more for video. The Mavic 2 Pro sports a 20MP Hasselblad L1D-20c camera that comes in a small, pack-able form factor. The drone itself weighs just under 2 pounds (31 oz), has 31 minutes flight time, and best of all: fits in my camera bag! So how does the DJI Mavic 2 Pro stack up for landscape photographer? Here are my real world tests, thoughts, and comments – all straight from the field.
Click here if you want to skip to the conclusion.
The Drone
I don’t want to bore you with all the tech specs – you probably already know enough about the drone if you’re reading this so I’ll stick to some key details and features that I found important in convincing me to pull the trigger.
Sensor: 20 megapixels 1” CMOS
Lens: 28mm (FF equivalent) f/2.8 – f/11
ISO: 100-12800
Electronic Shutter: 8s – 1/8000s
Weight: 2 lbs~ (31 oz)
Battery Life: 31 minutes flying, 29 minutes hovering
Battery Weight: 0.65 lb (10.4 oz)
Remote Weight: 0.94 lb (15~ oz)
I got the drone with the fly more kit (2 extra batteries) so the total kit weight with drone, 3 batteries, and remote comes out to 4.82 lbs (77.2 oz). It’s not the lightest addition to my pack, but it’s manageable. For day trips, I don’t see myself bringing less than 2 extra batteries. So in terms of kit weight I consider this to be the “base” weight of the drone setup.
For overnight back country trips where weight is important, I’ll bring drone, remote, and one extra battery. This lets me charge one battery while still flying. How do I charge the drone in the wild? More on that later!
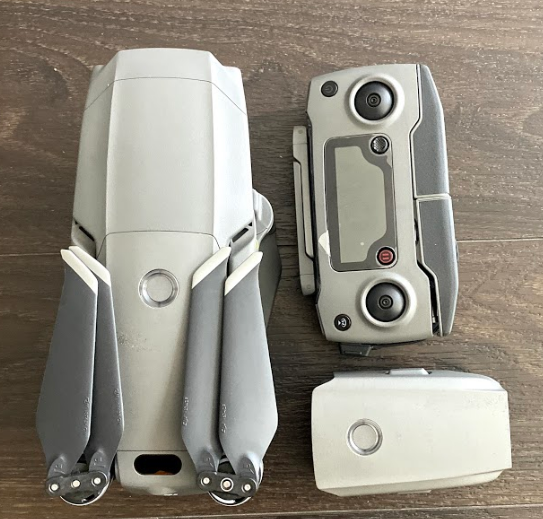
Image Quality
Off the bat I have to say, the video quality is better than the stills. I would put the image quality along the same level as the Sony RX100 – which isn’t bad for it’s size. That being said, the video quality is still much better quality than the photos. I’ll let images do the work:
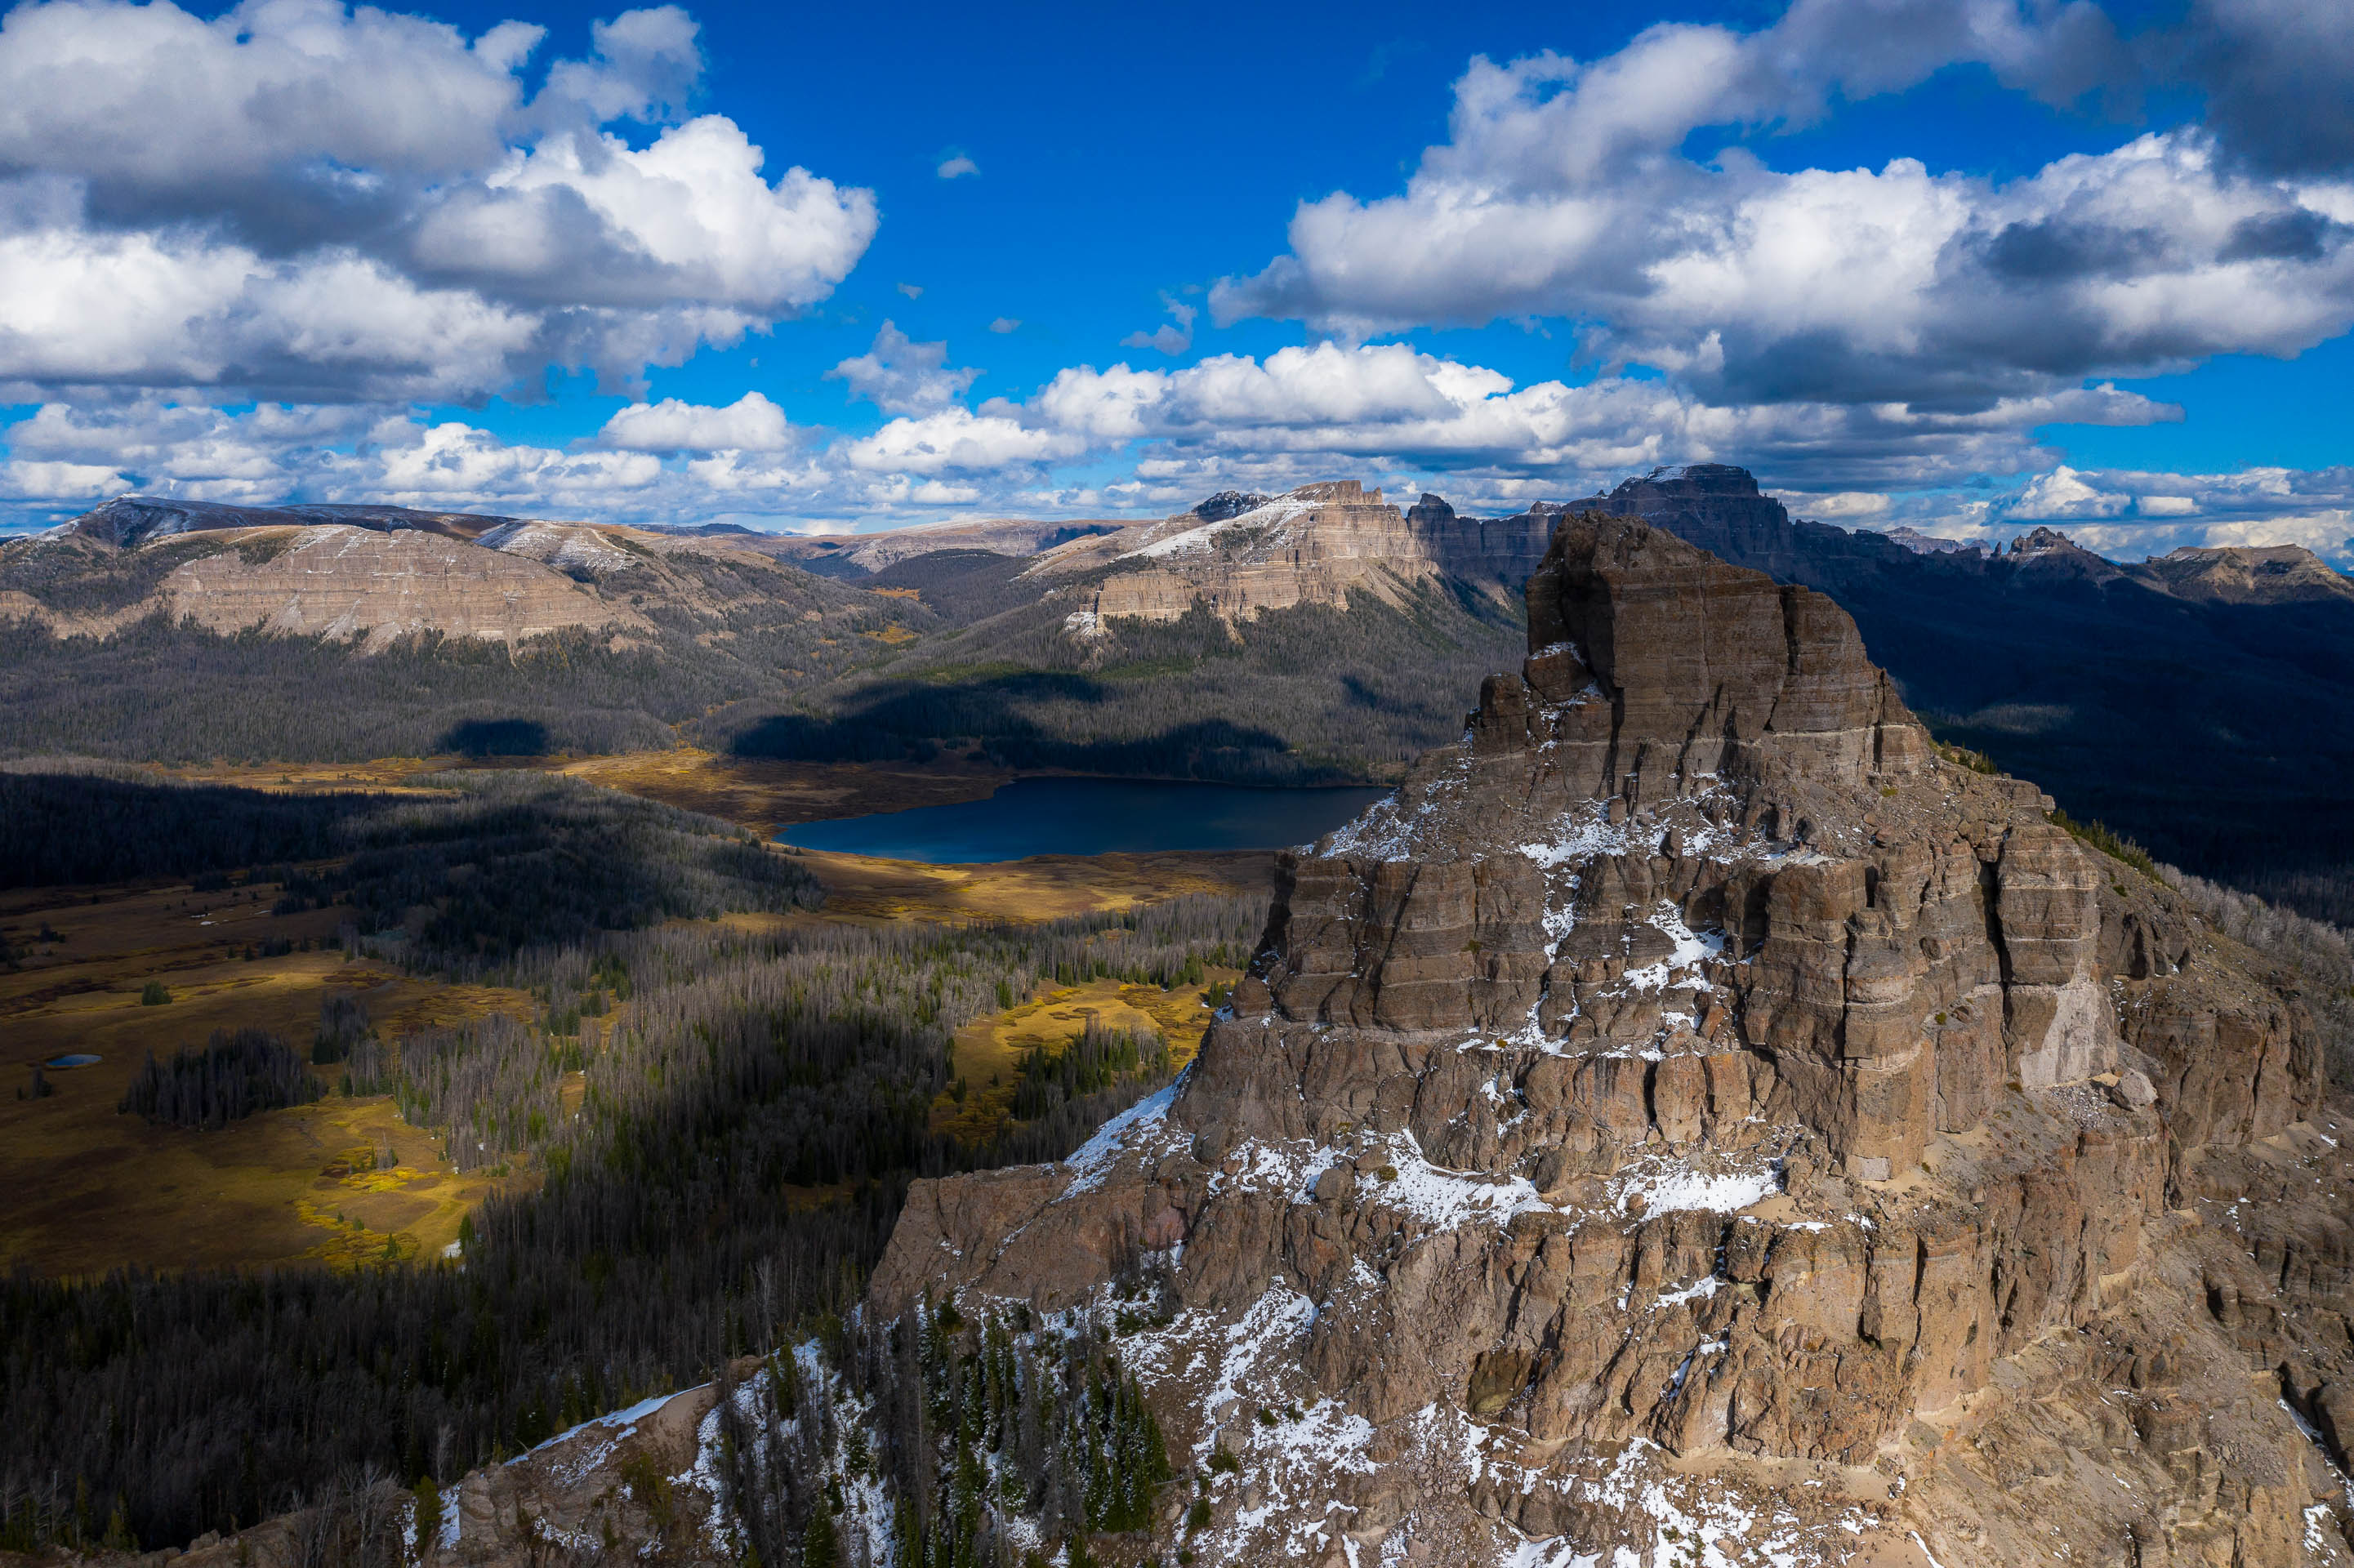
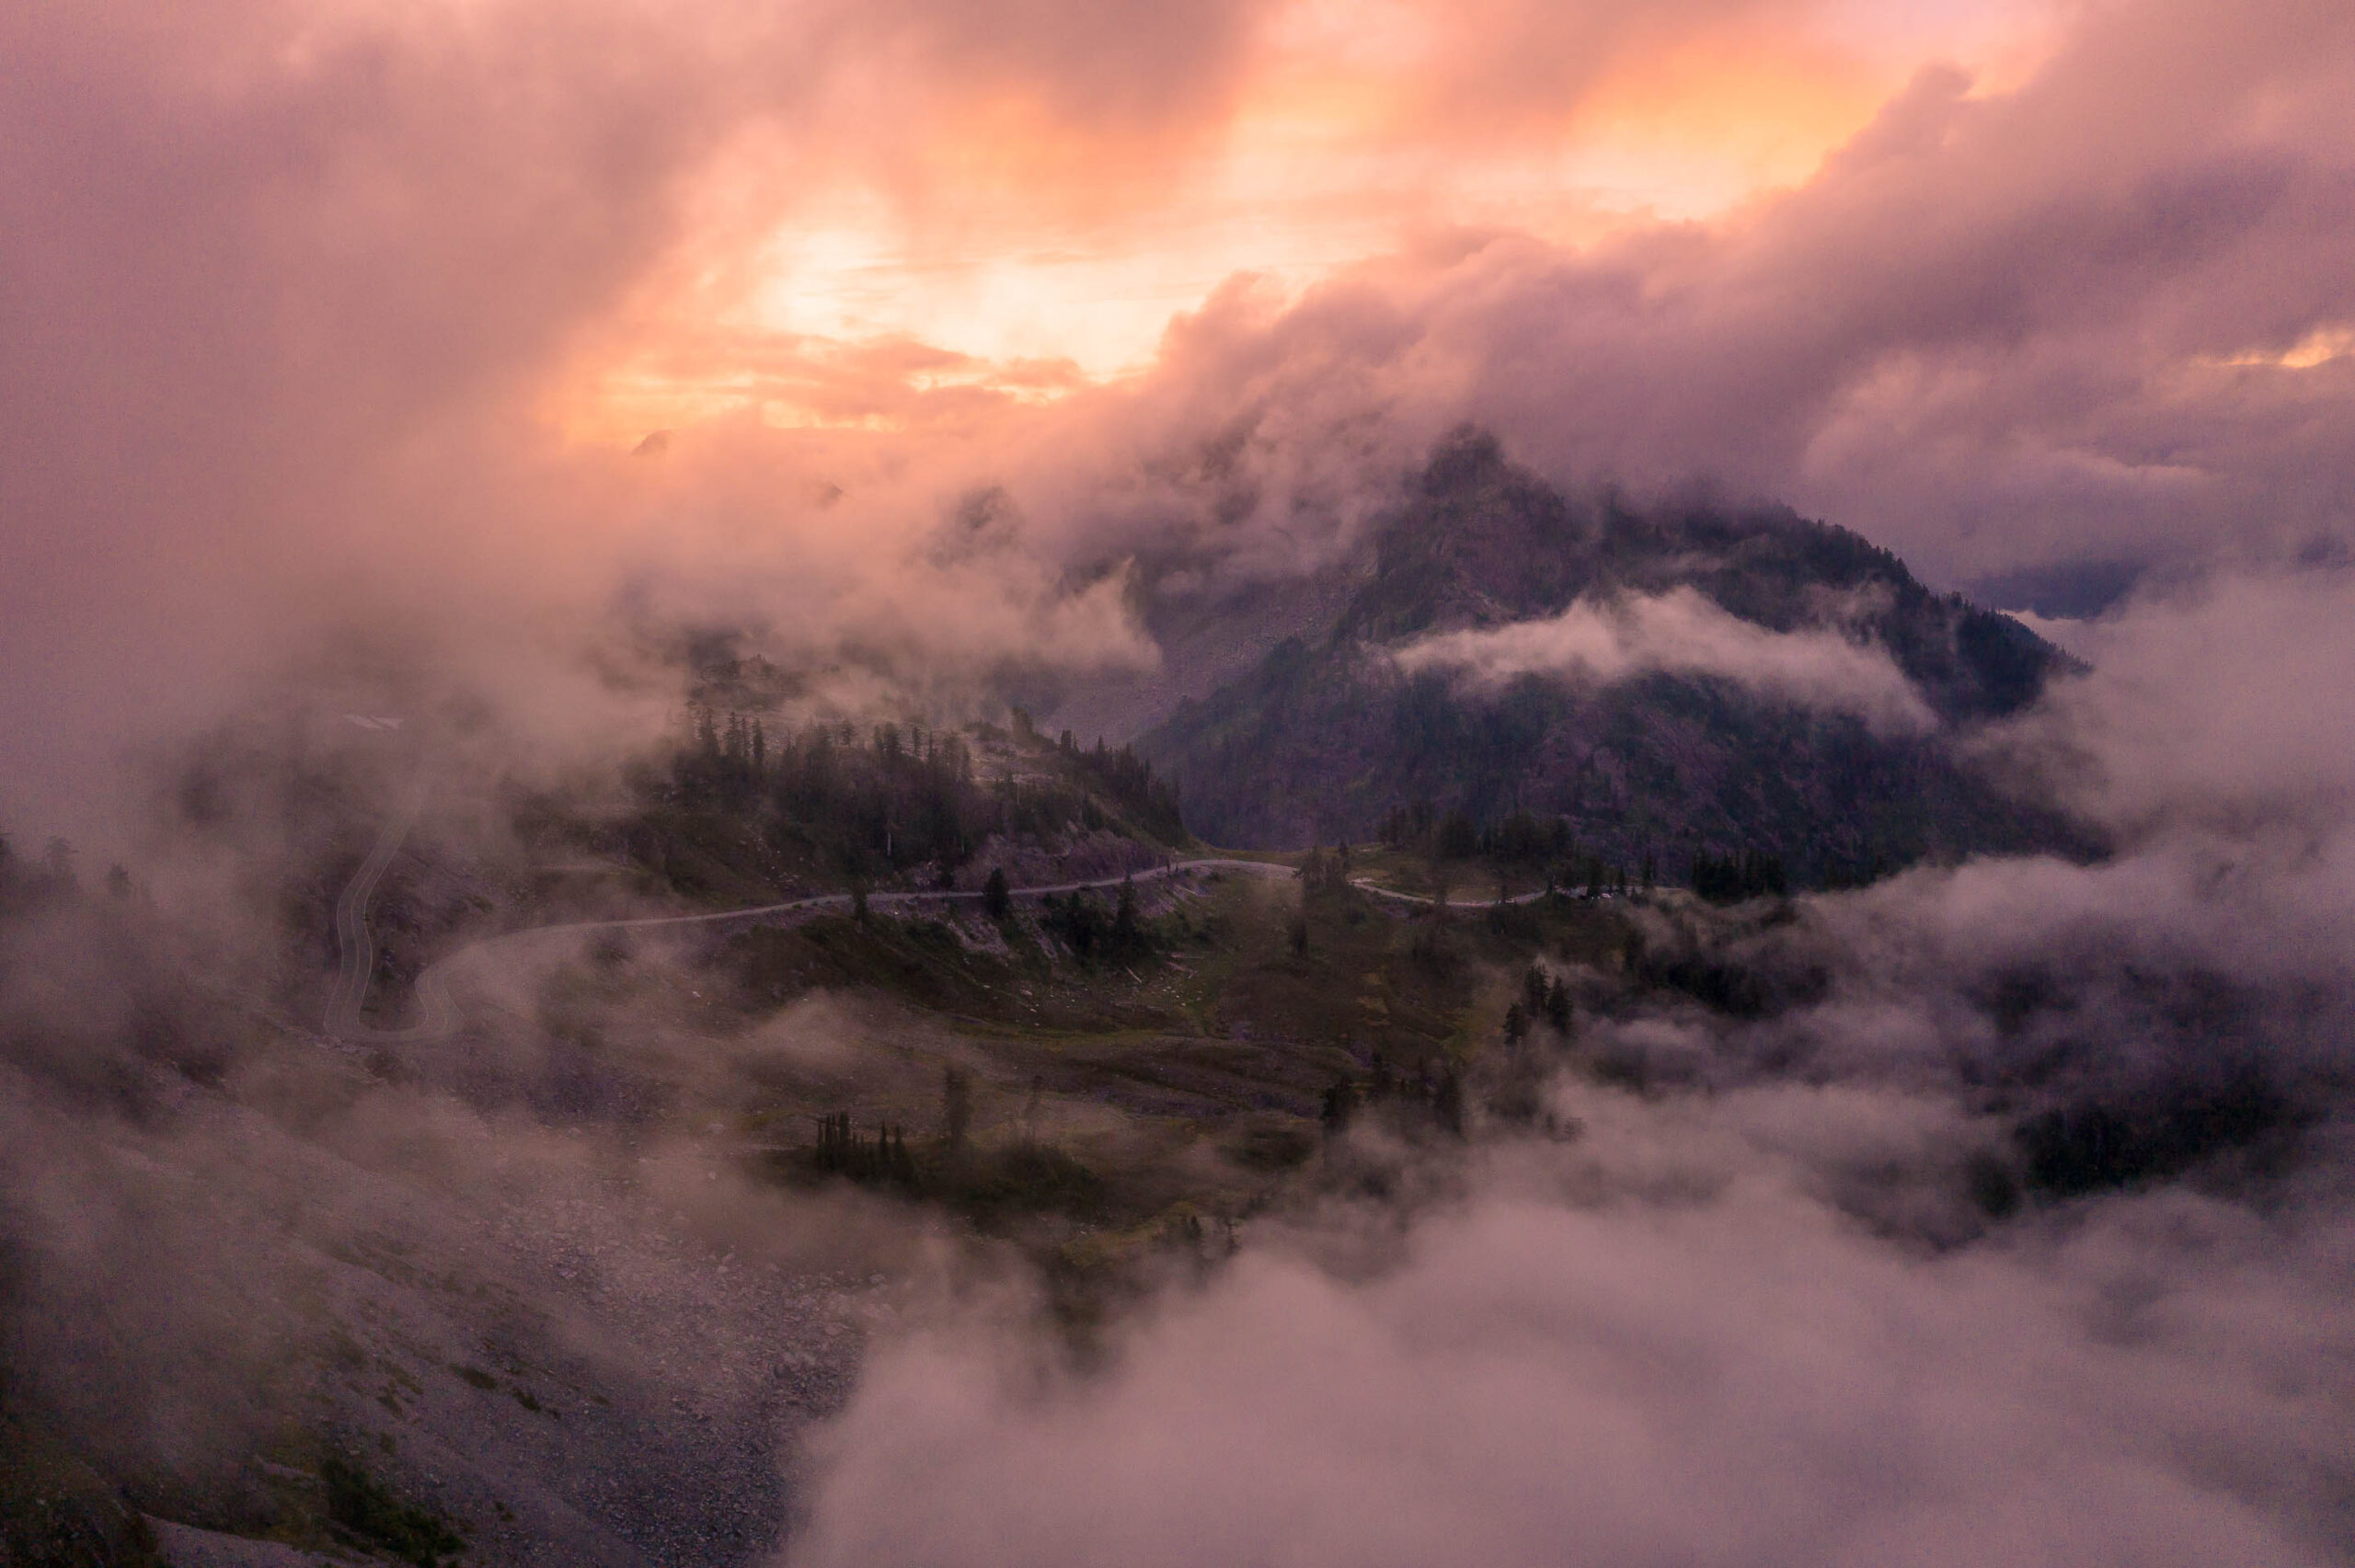
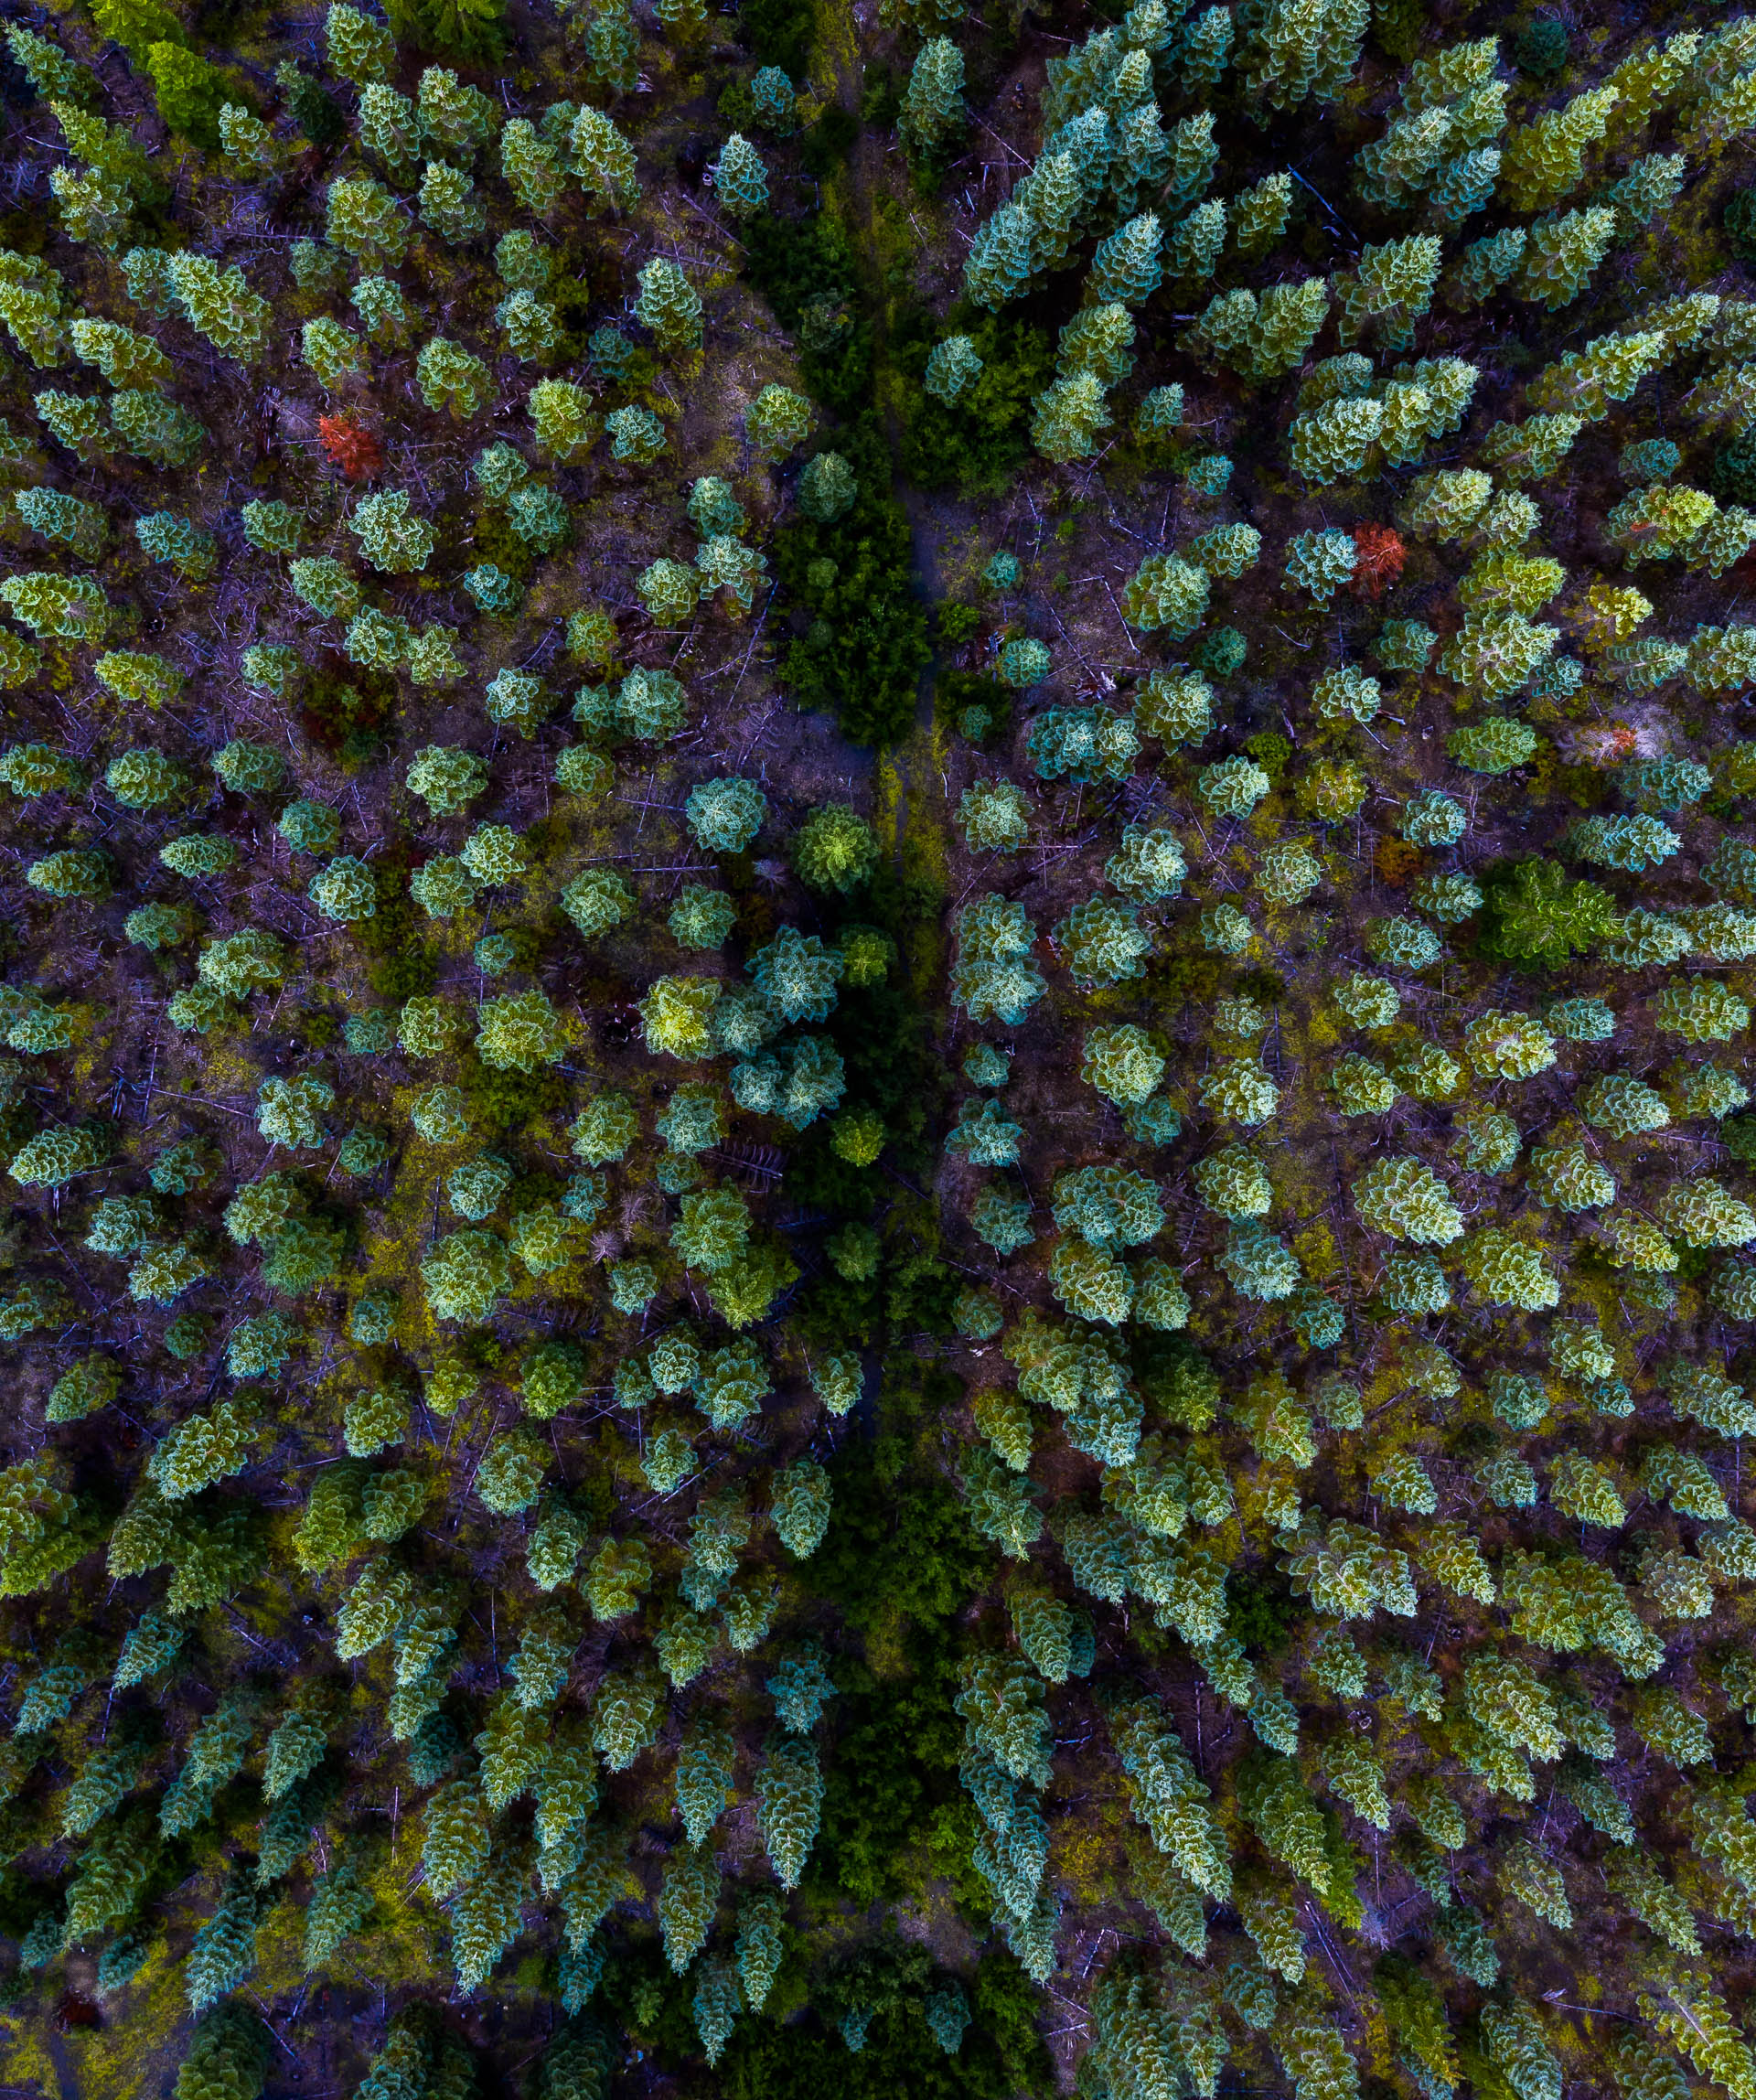
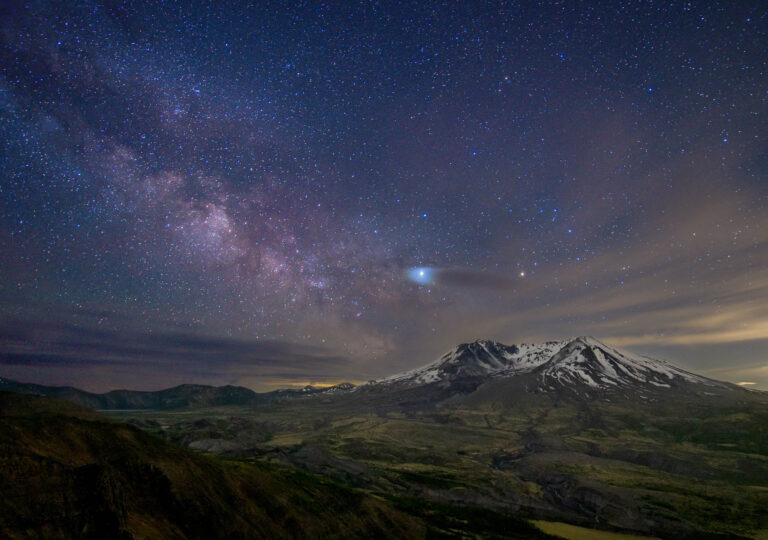
This was a pretty optimal condition shot. Bright enough for ISO 100, cloud coverage, and generally good flying conditions. The image is clear but 20MP may leave details found wanting.

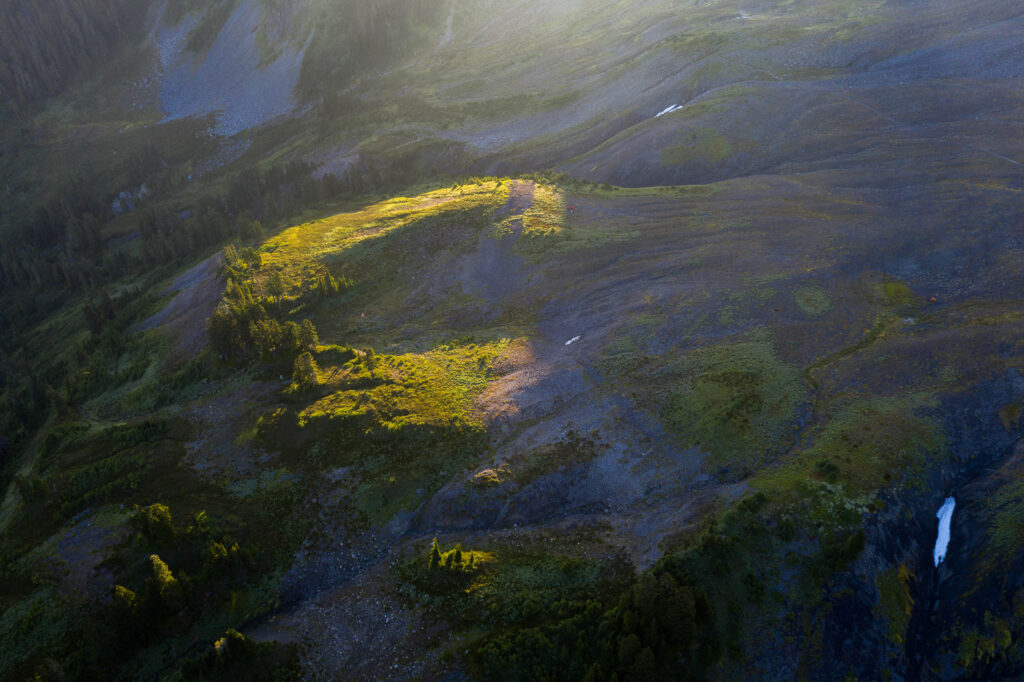
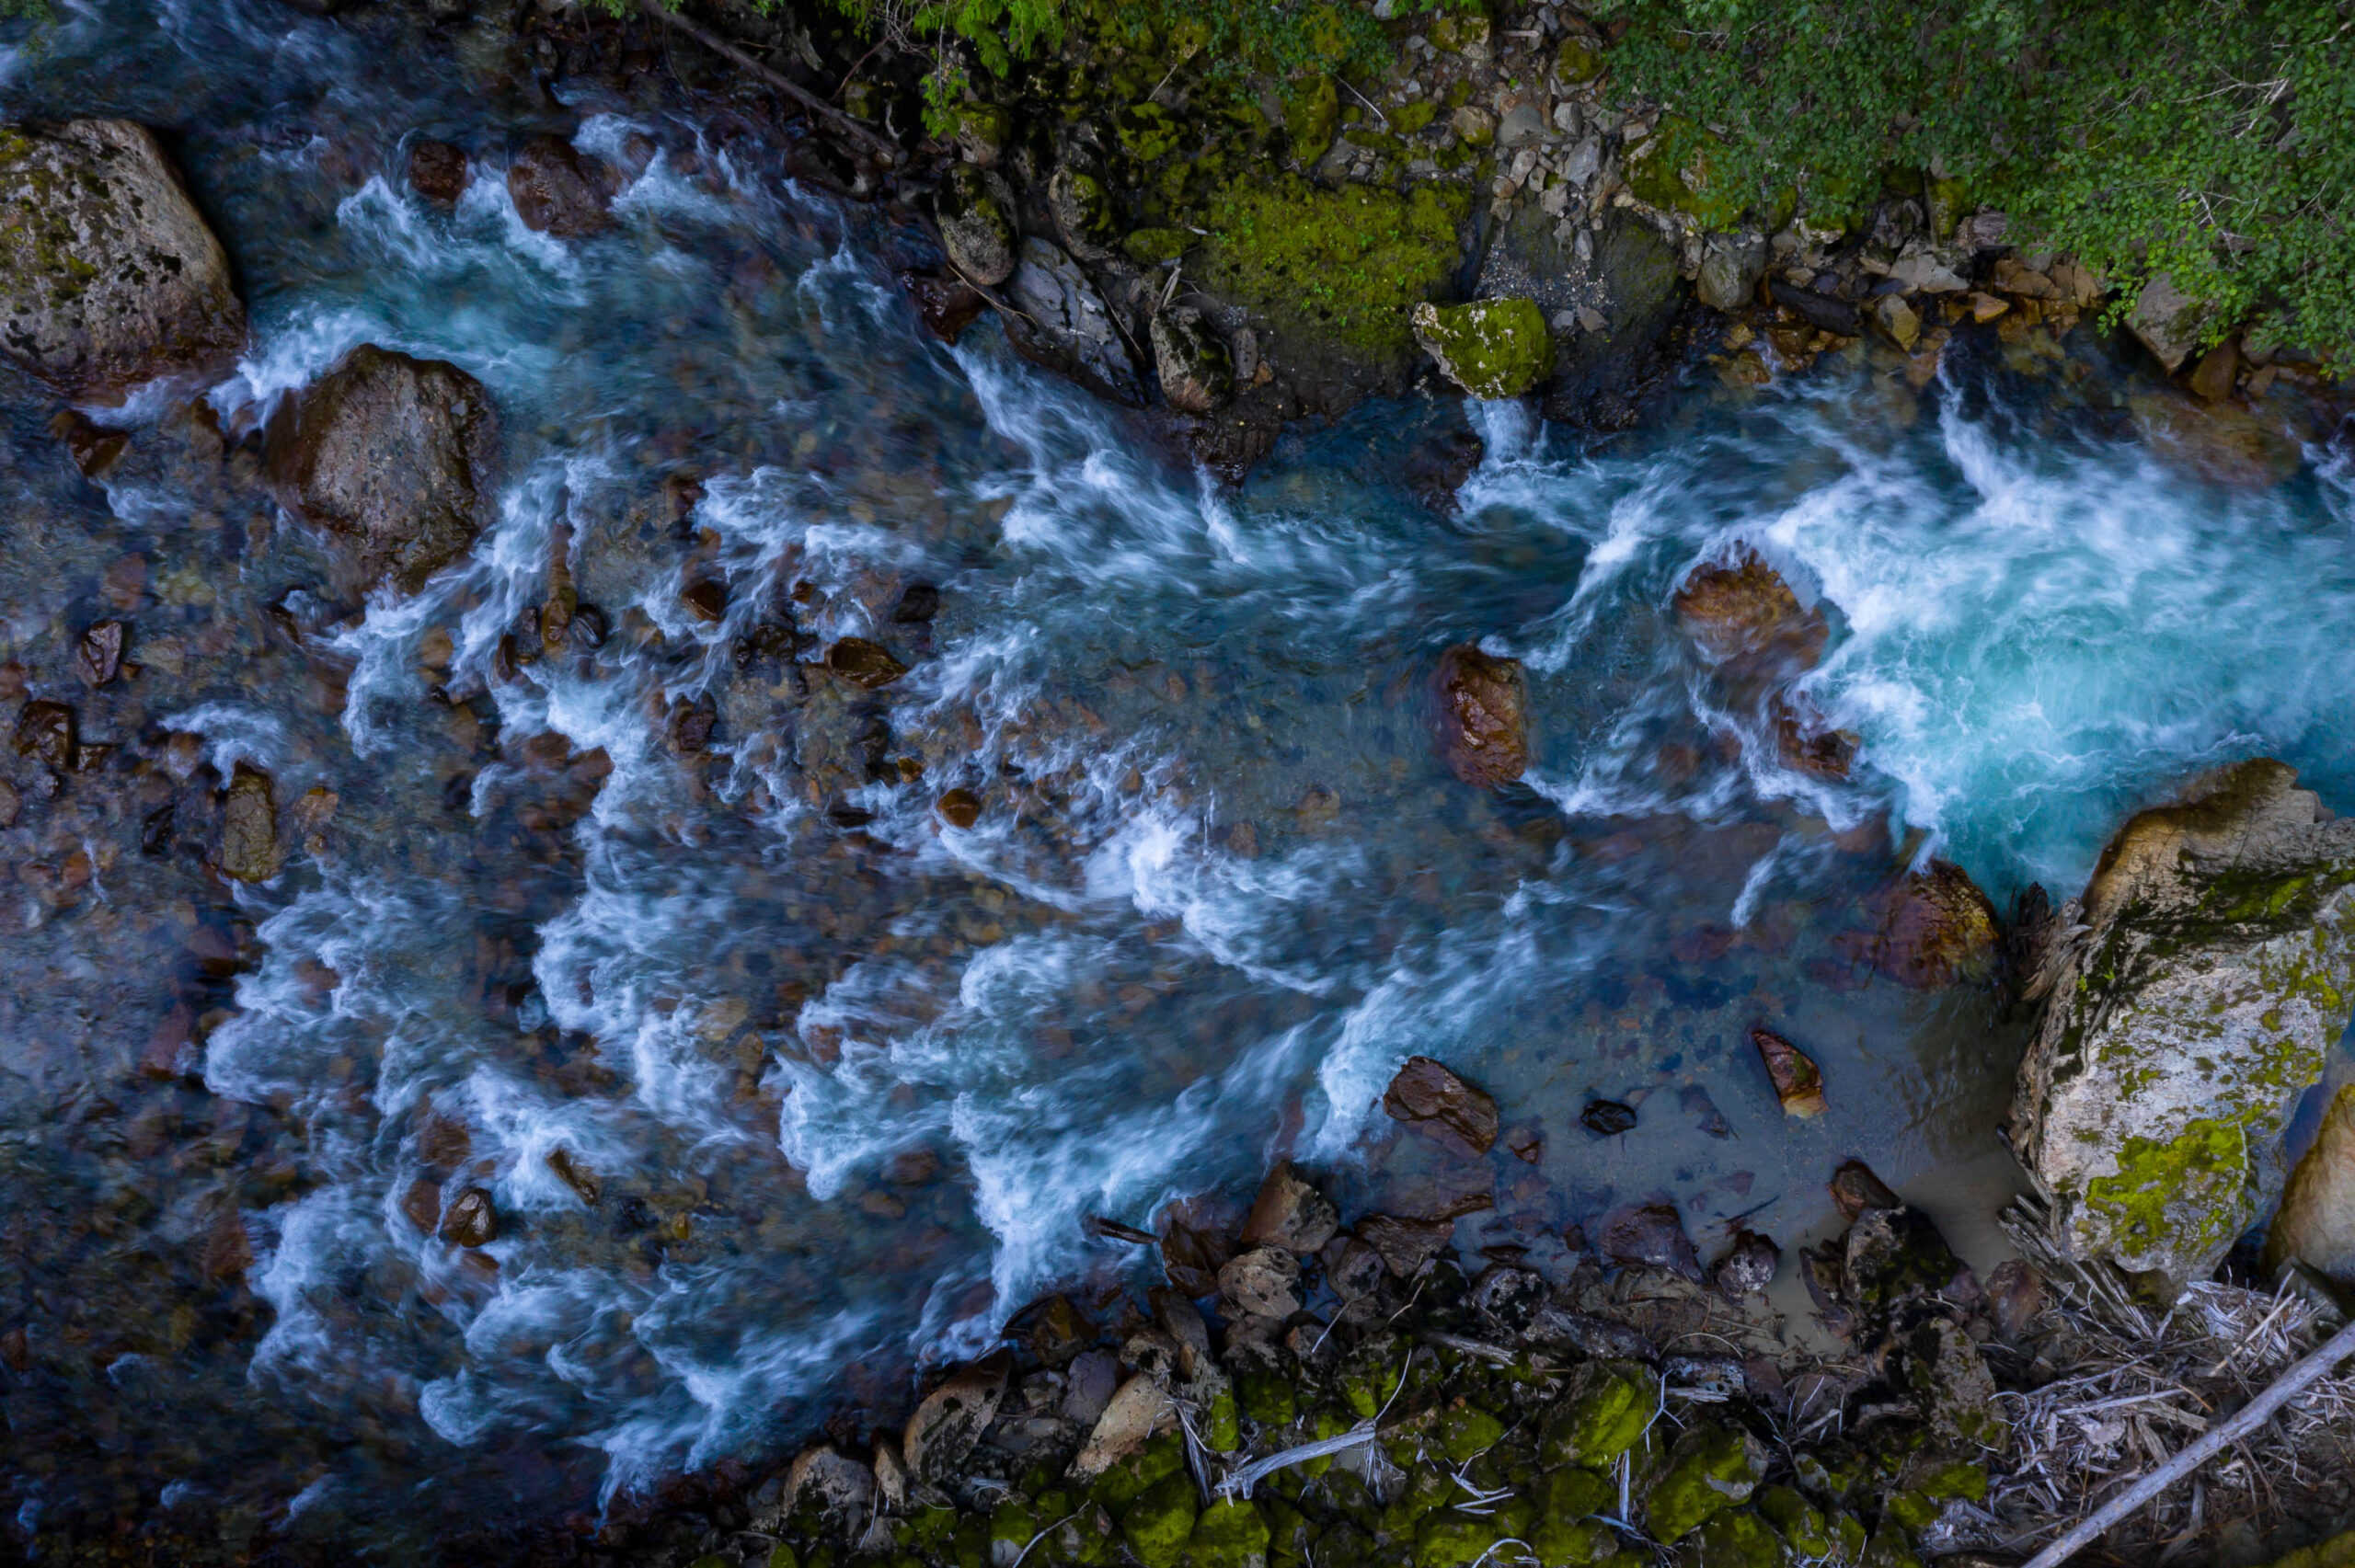
This shot was exposure raised +1 stop, shadows +100. As you can see, the shadows start to deteriorate when you push the image to the limits. On the A7R III, this kind of data pushing is not a problem at all.

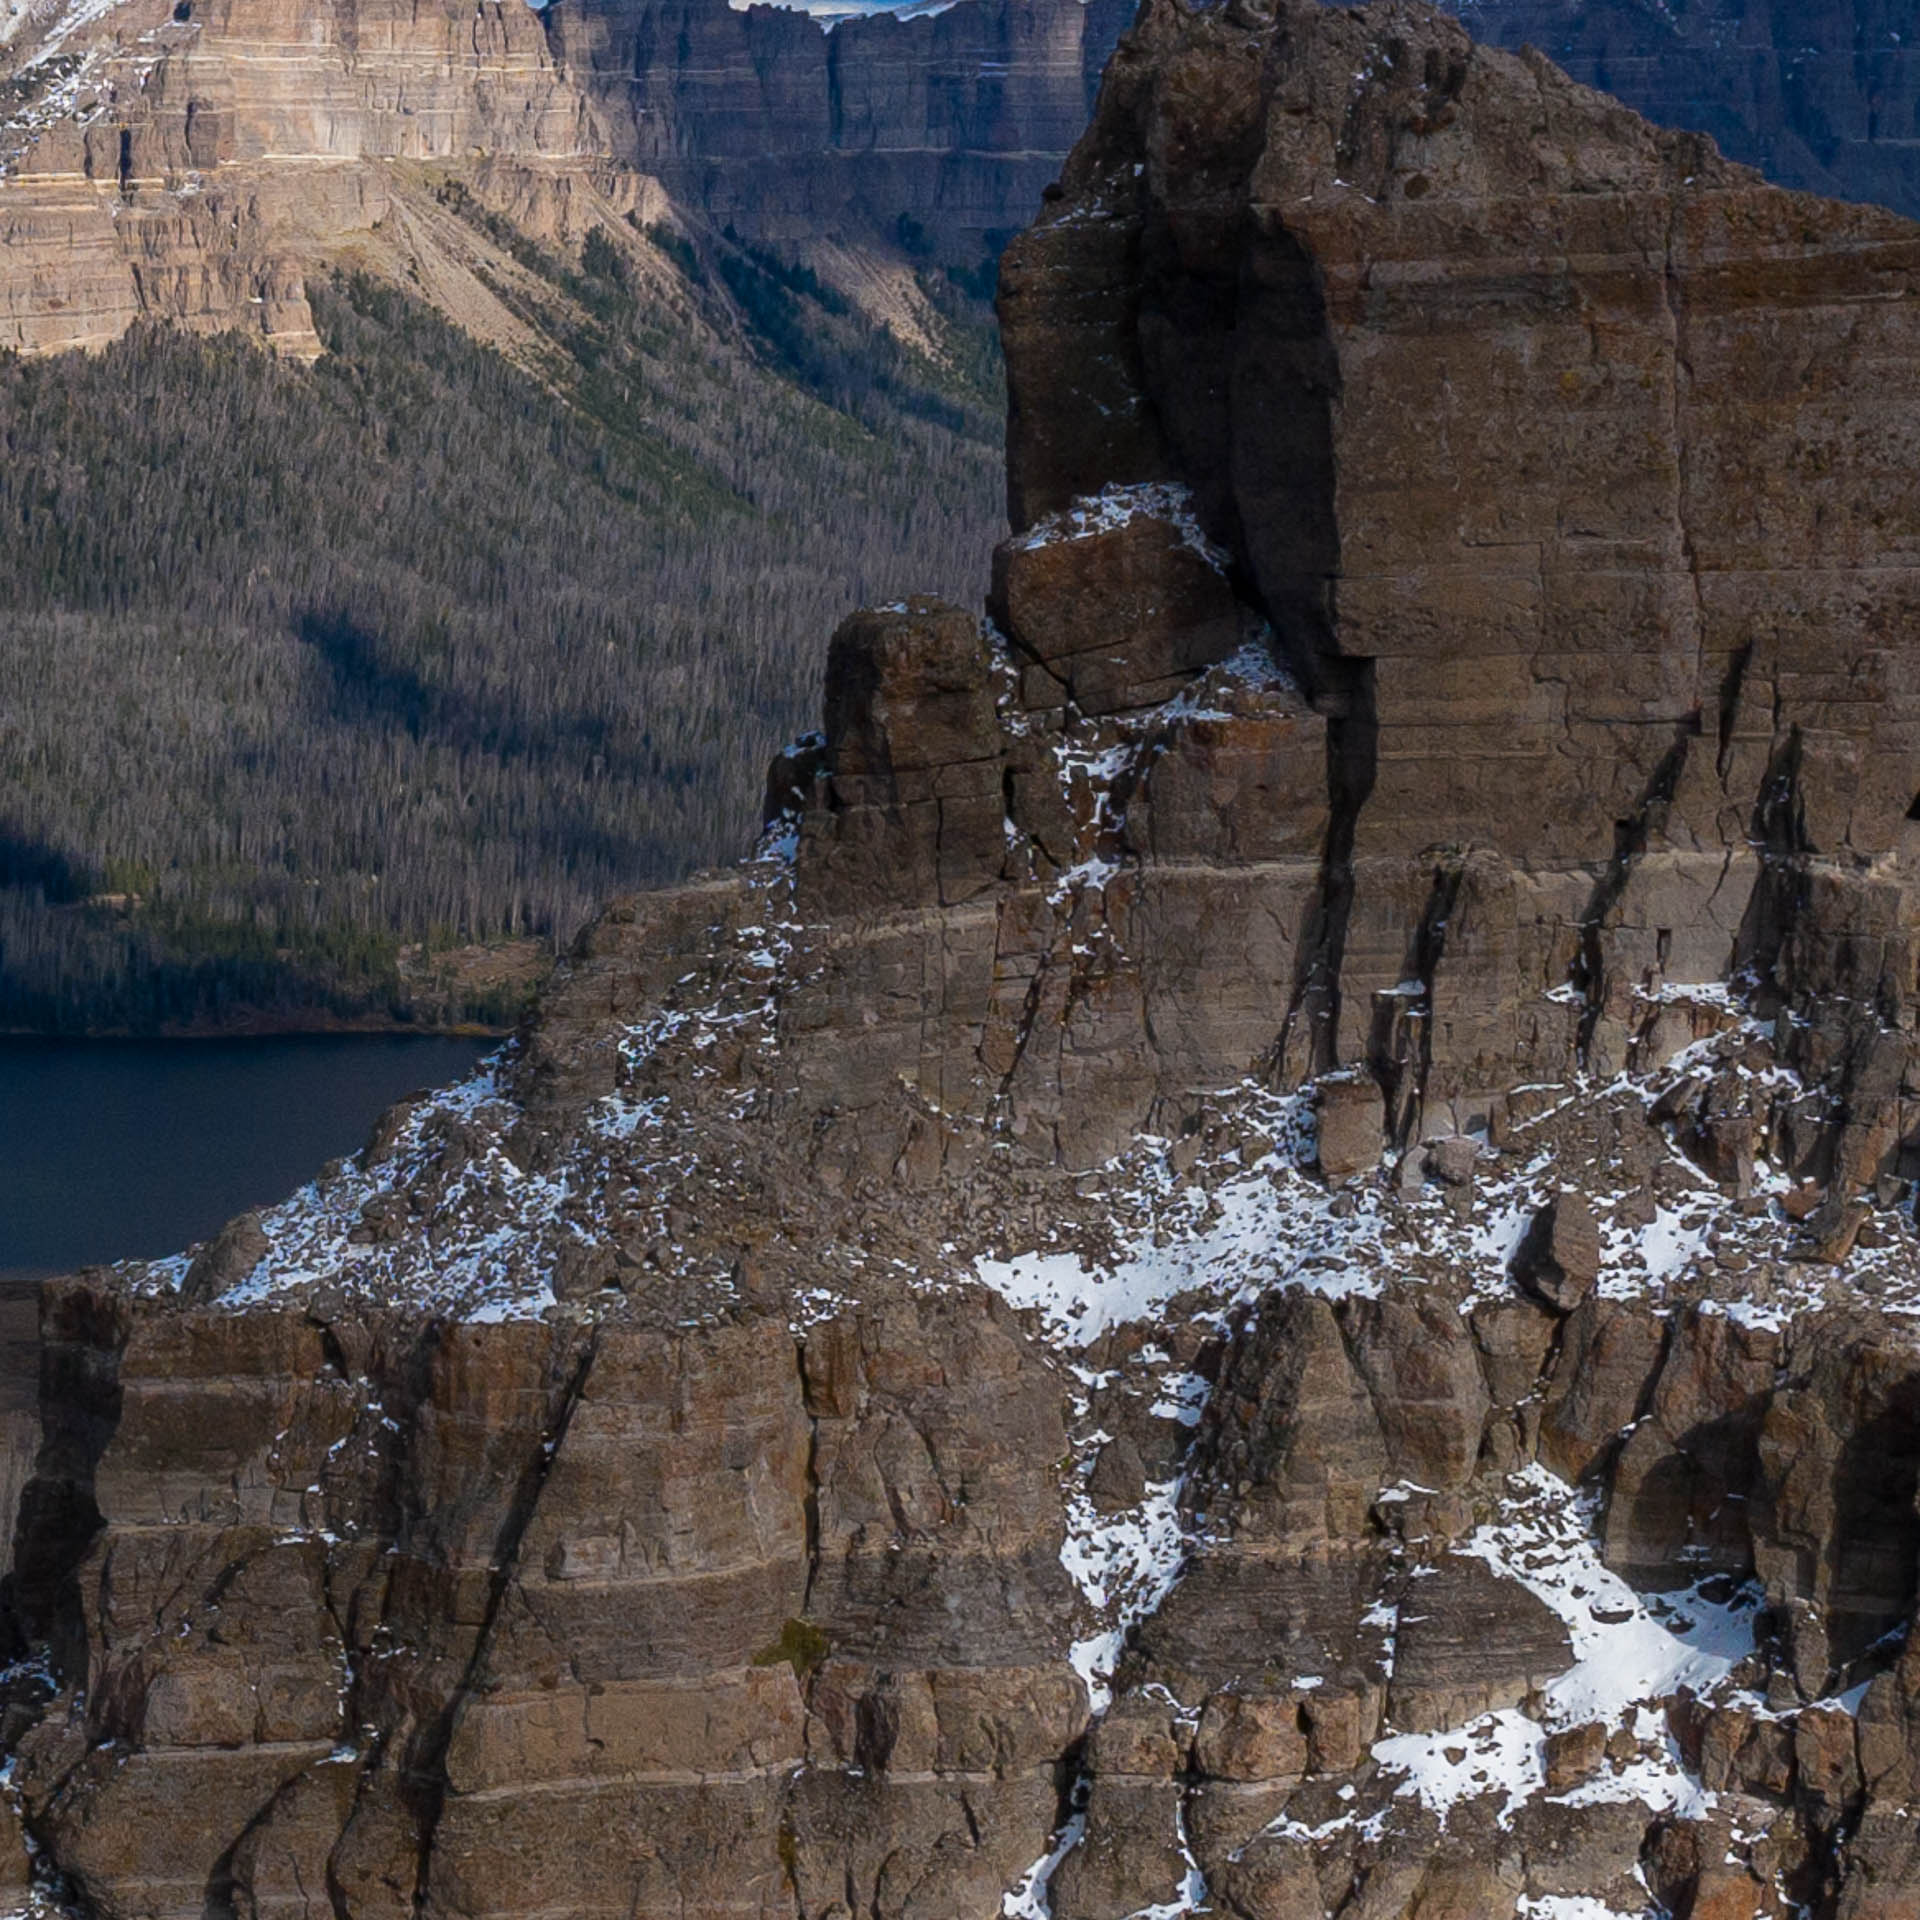
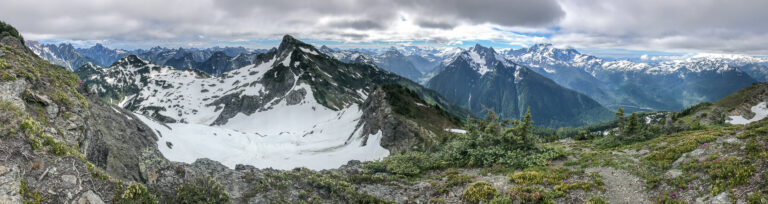
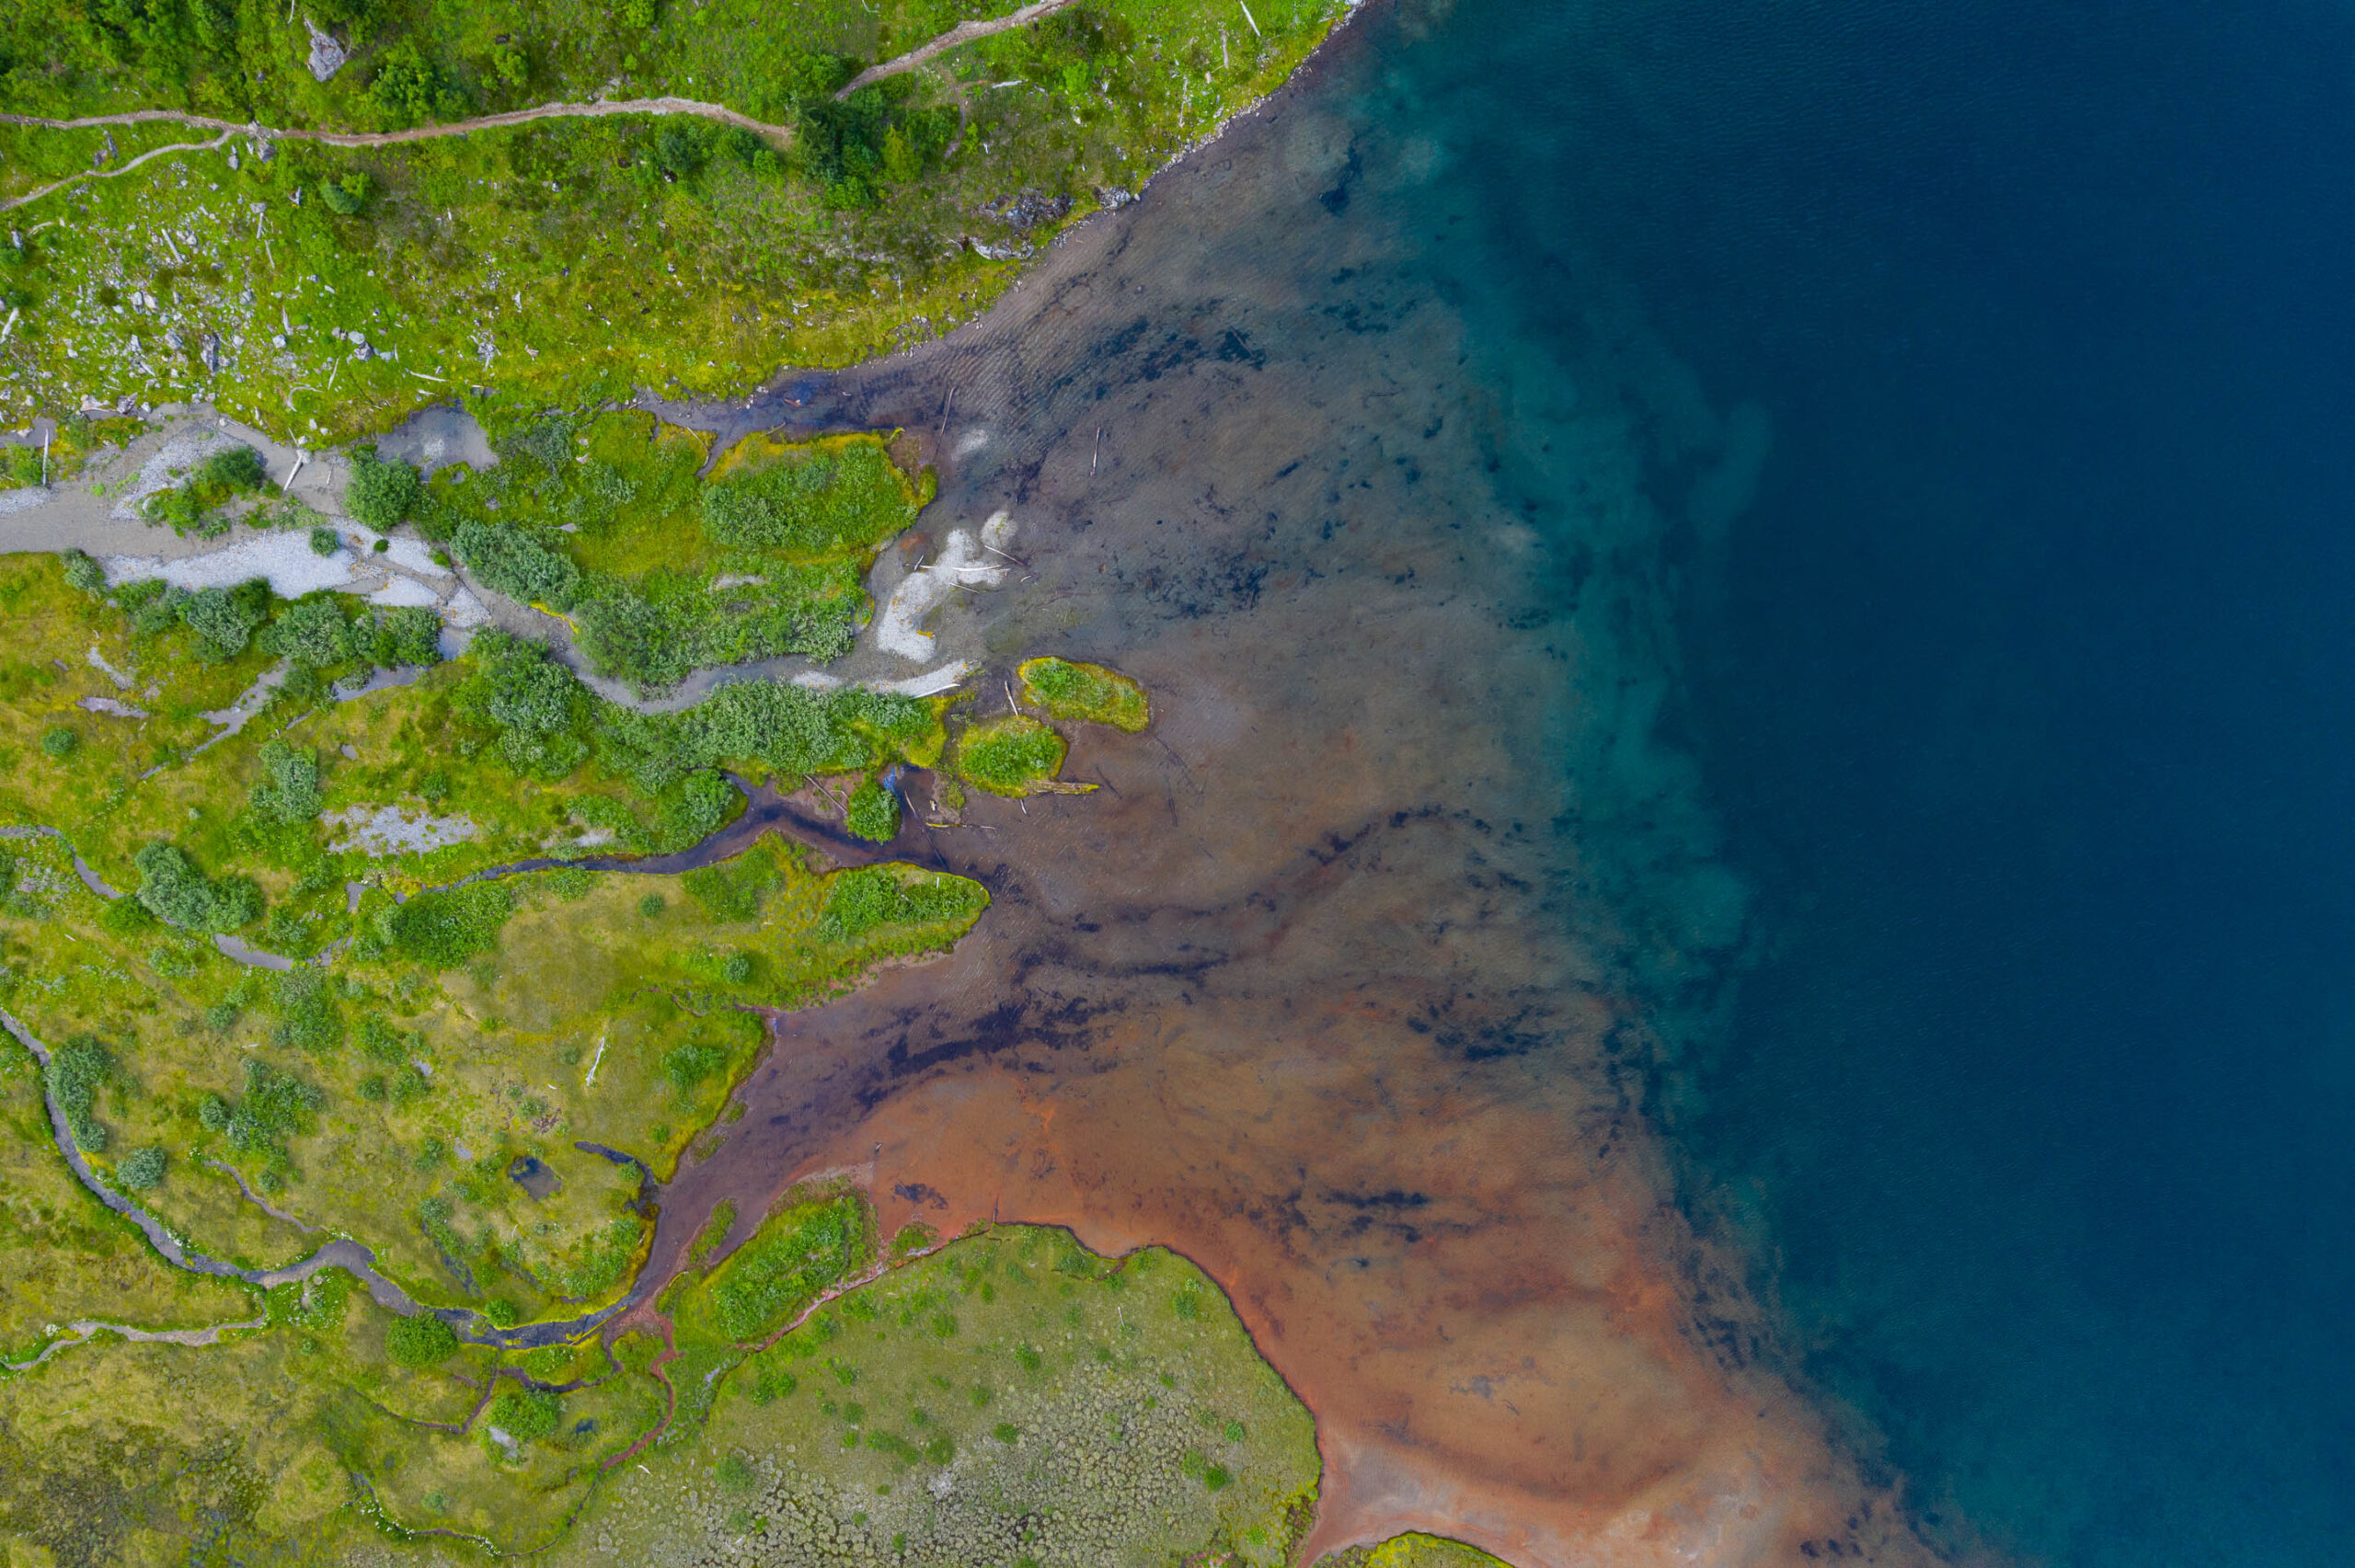
Bright sunny day – Great detail in the foreground, some noise in the sky when pushing the highlights. However, the 1:1 crop still retains good detail.

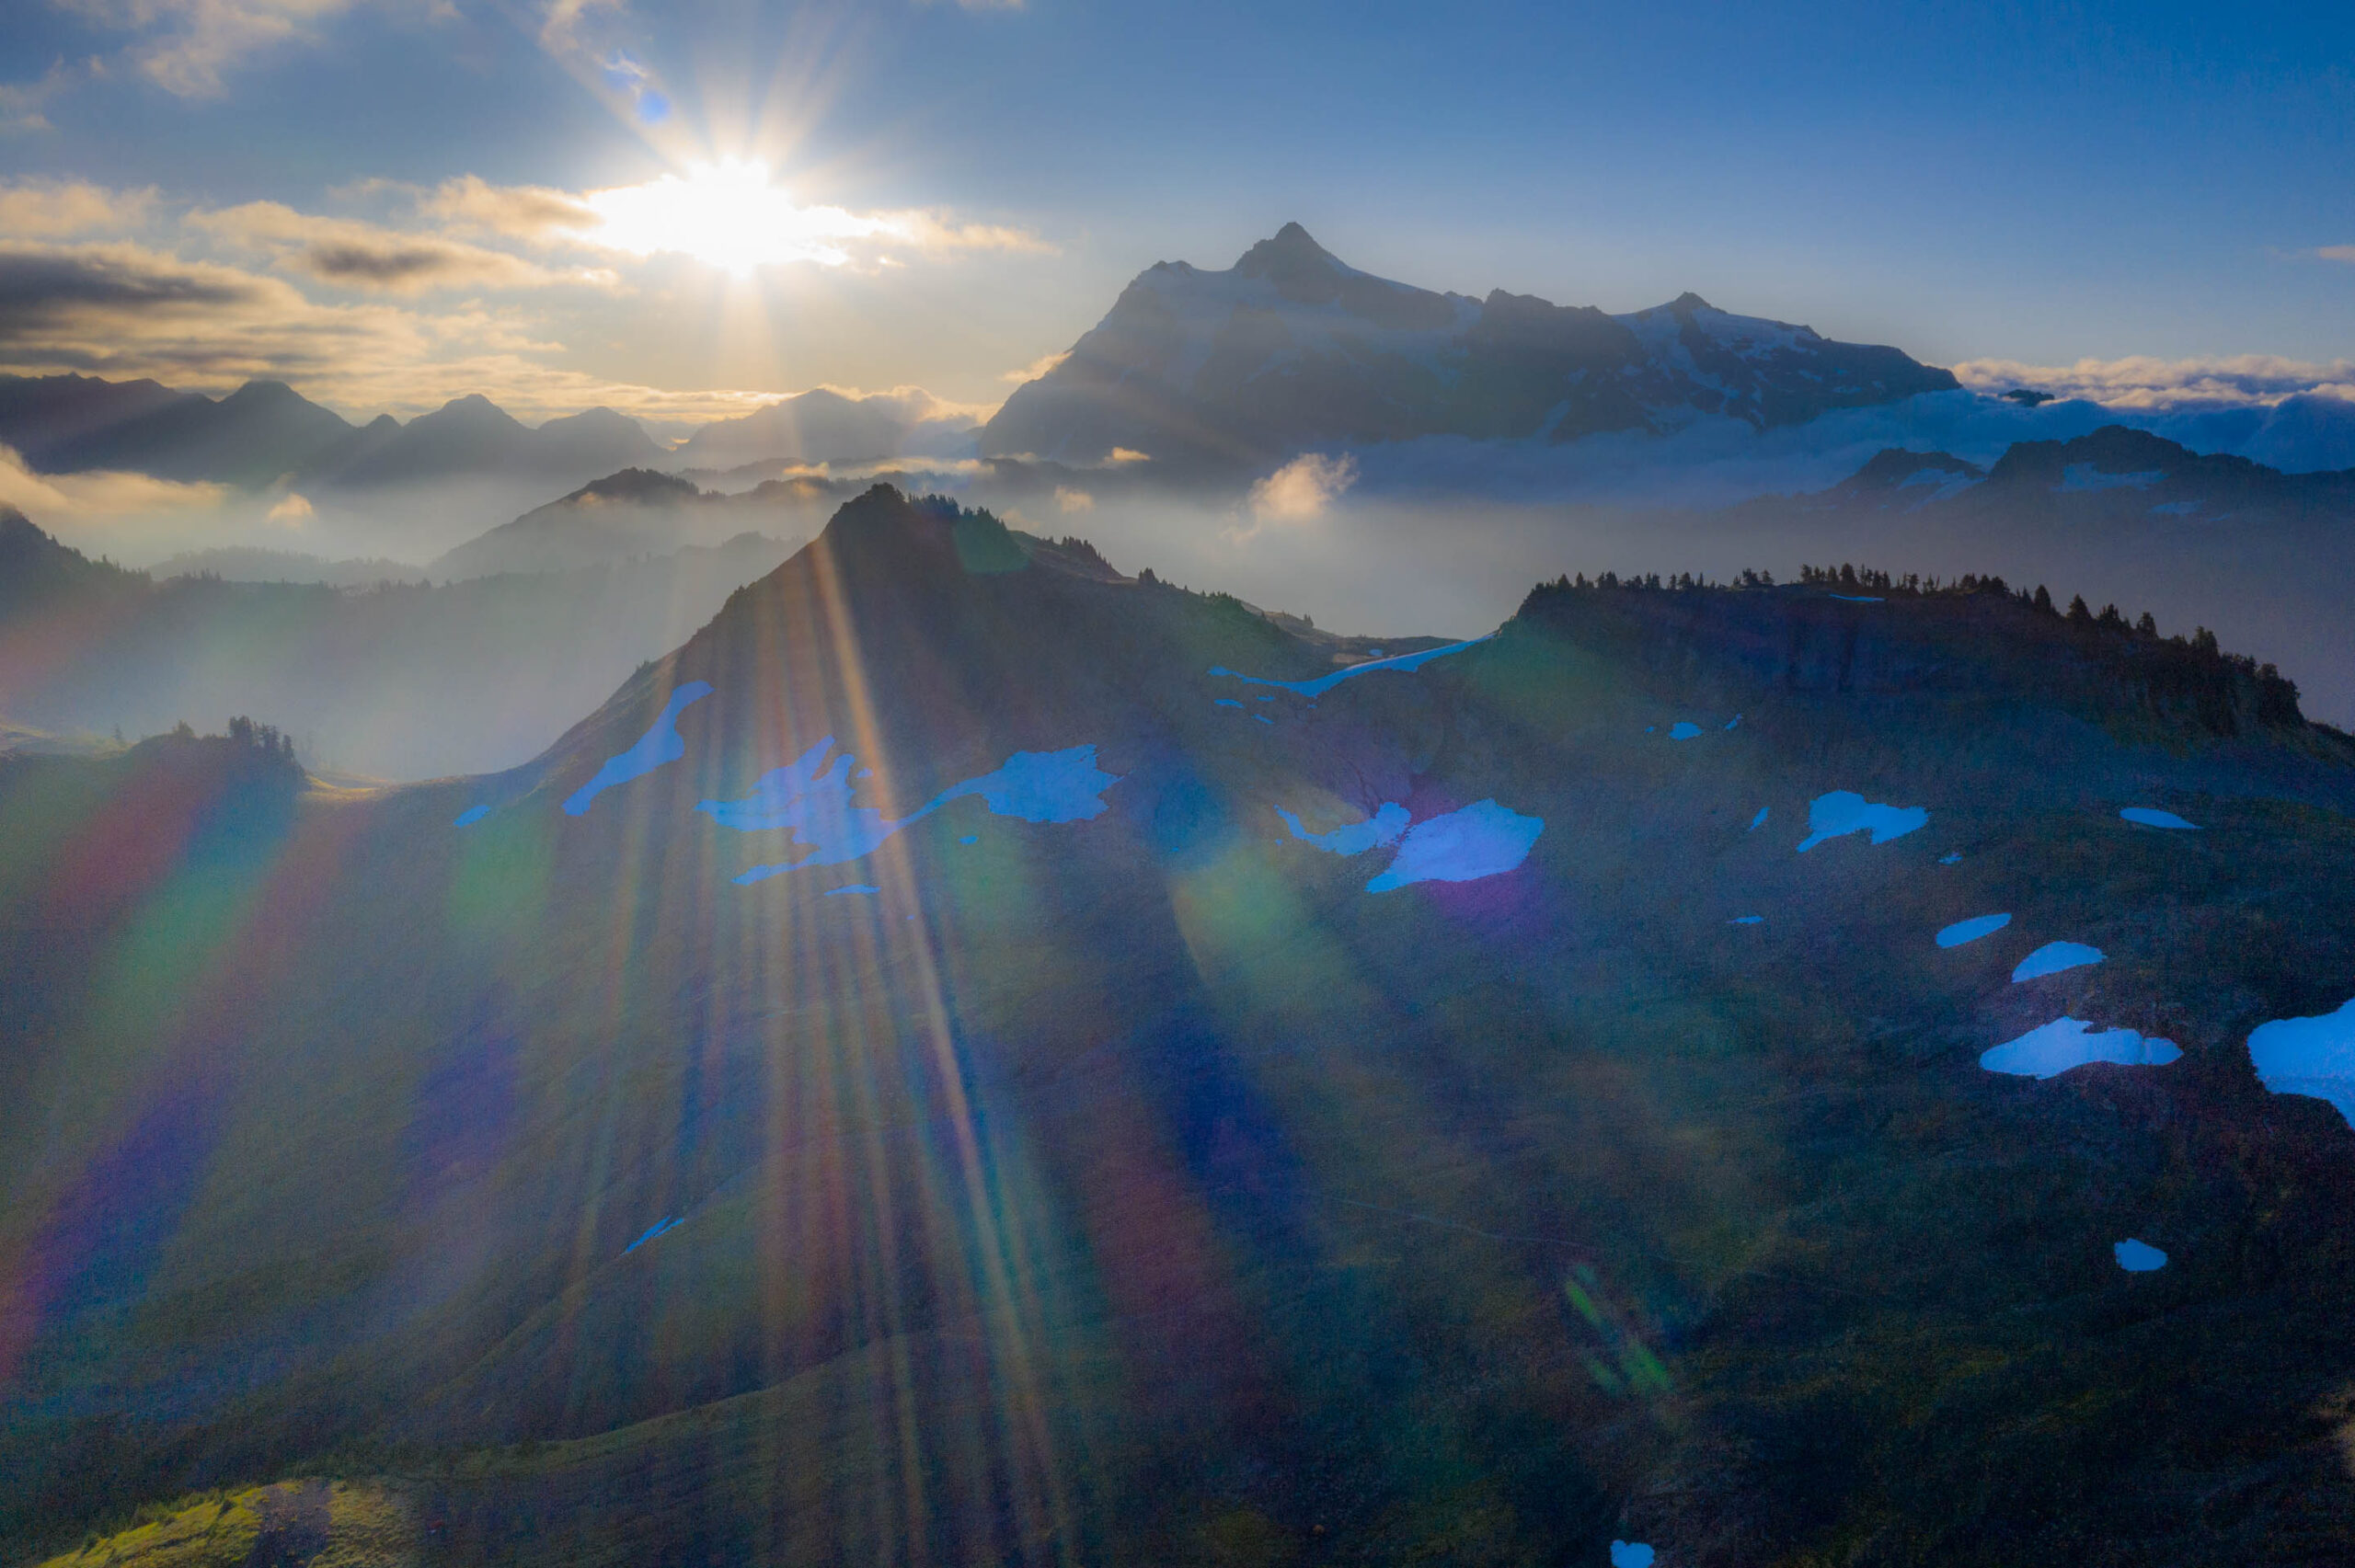
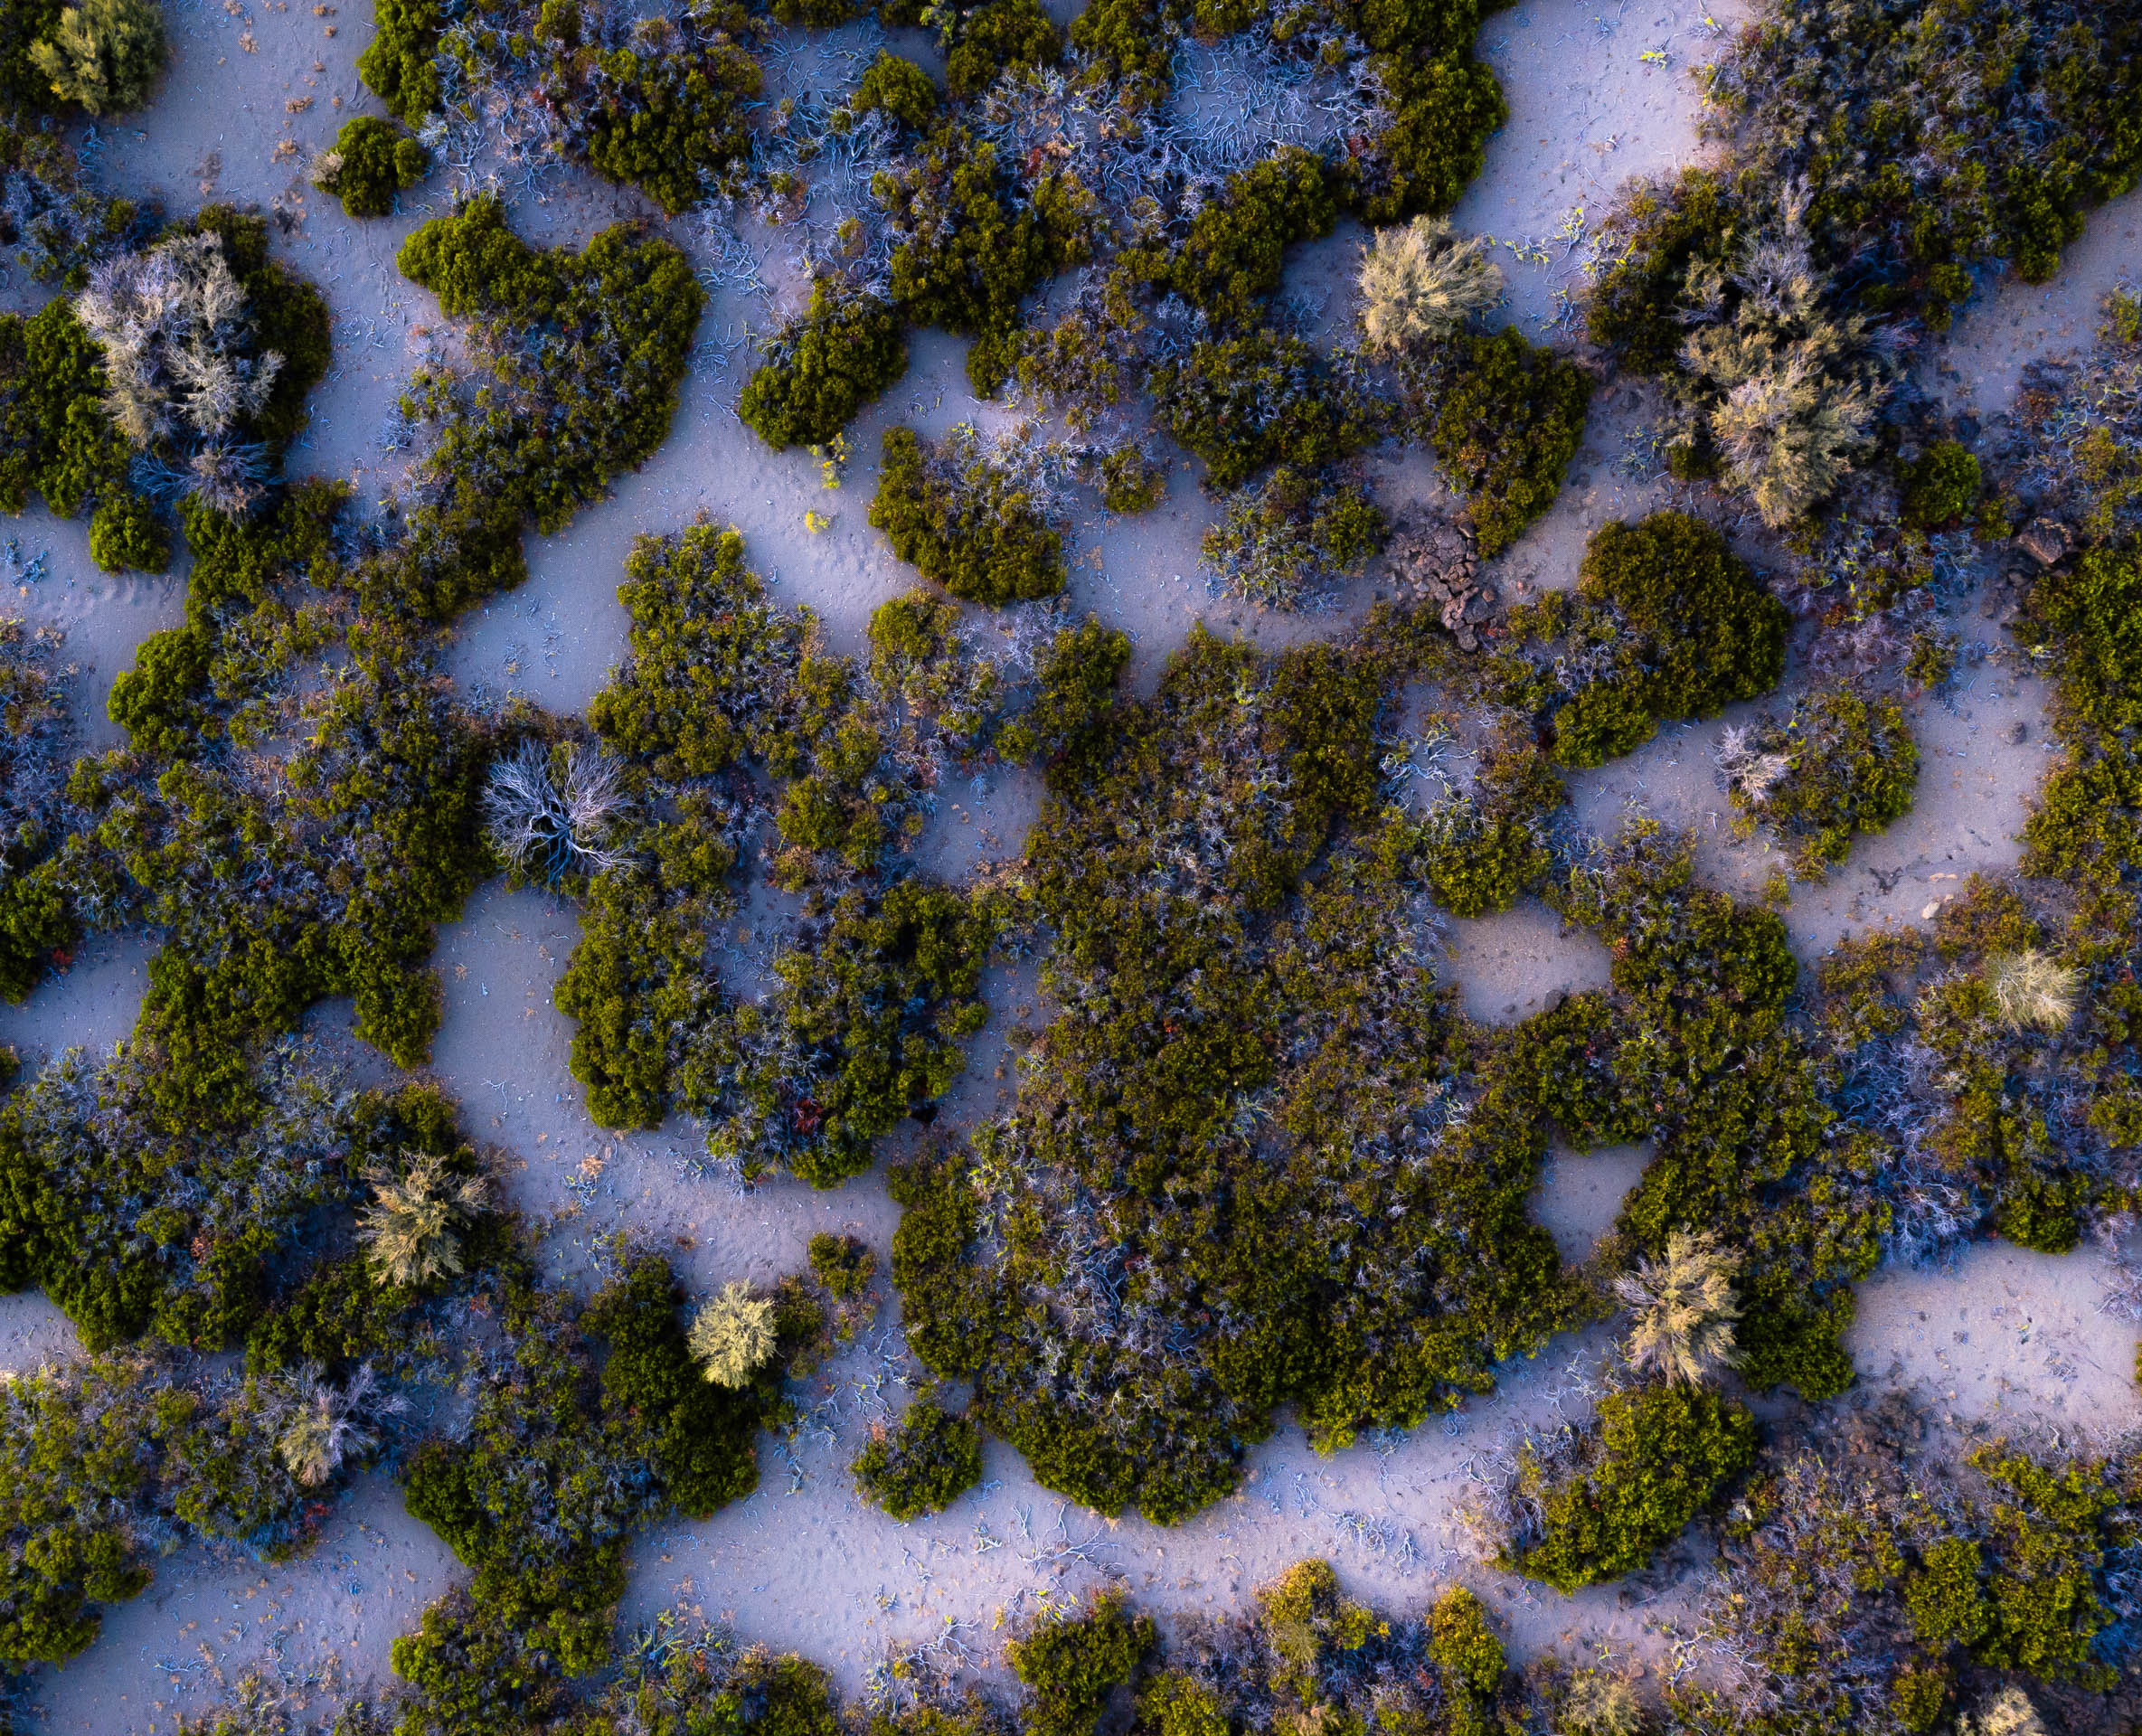
Lens quality.. flare resistance leaves us wanting. However, shoot with that limitation in mind and you’ll be fine.

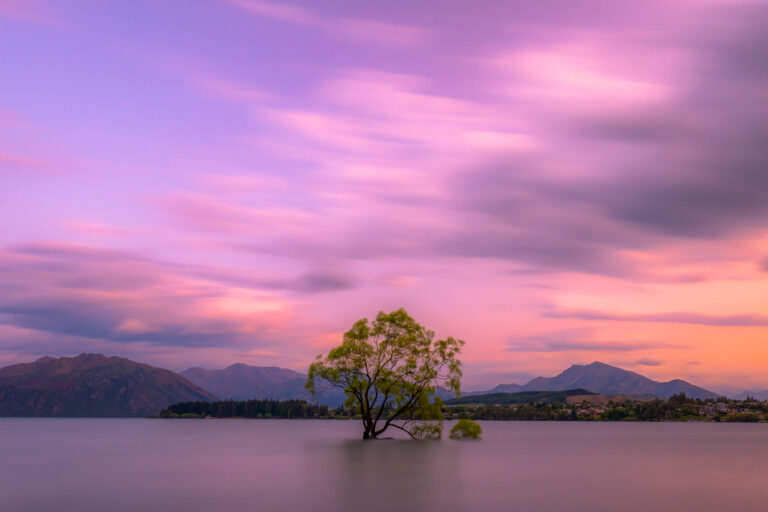
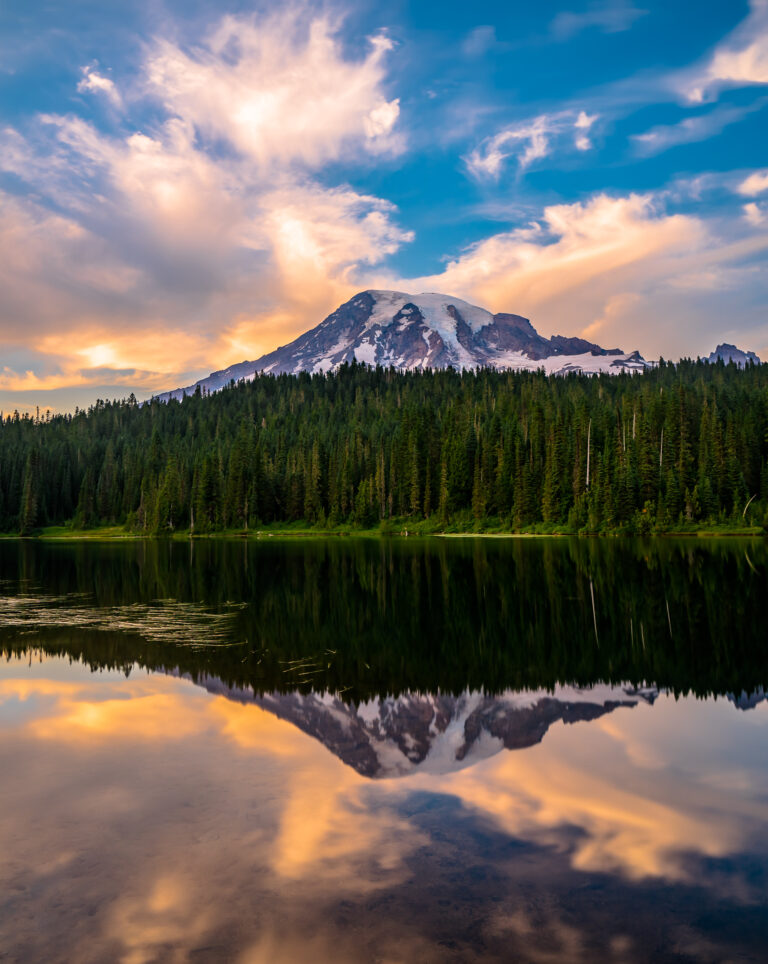
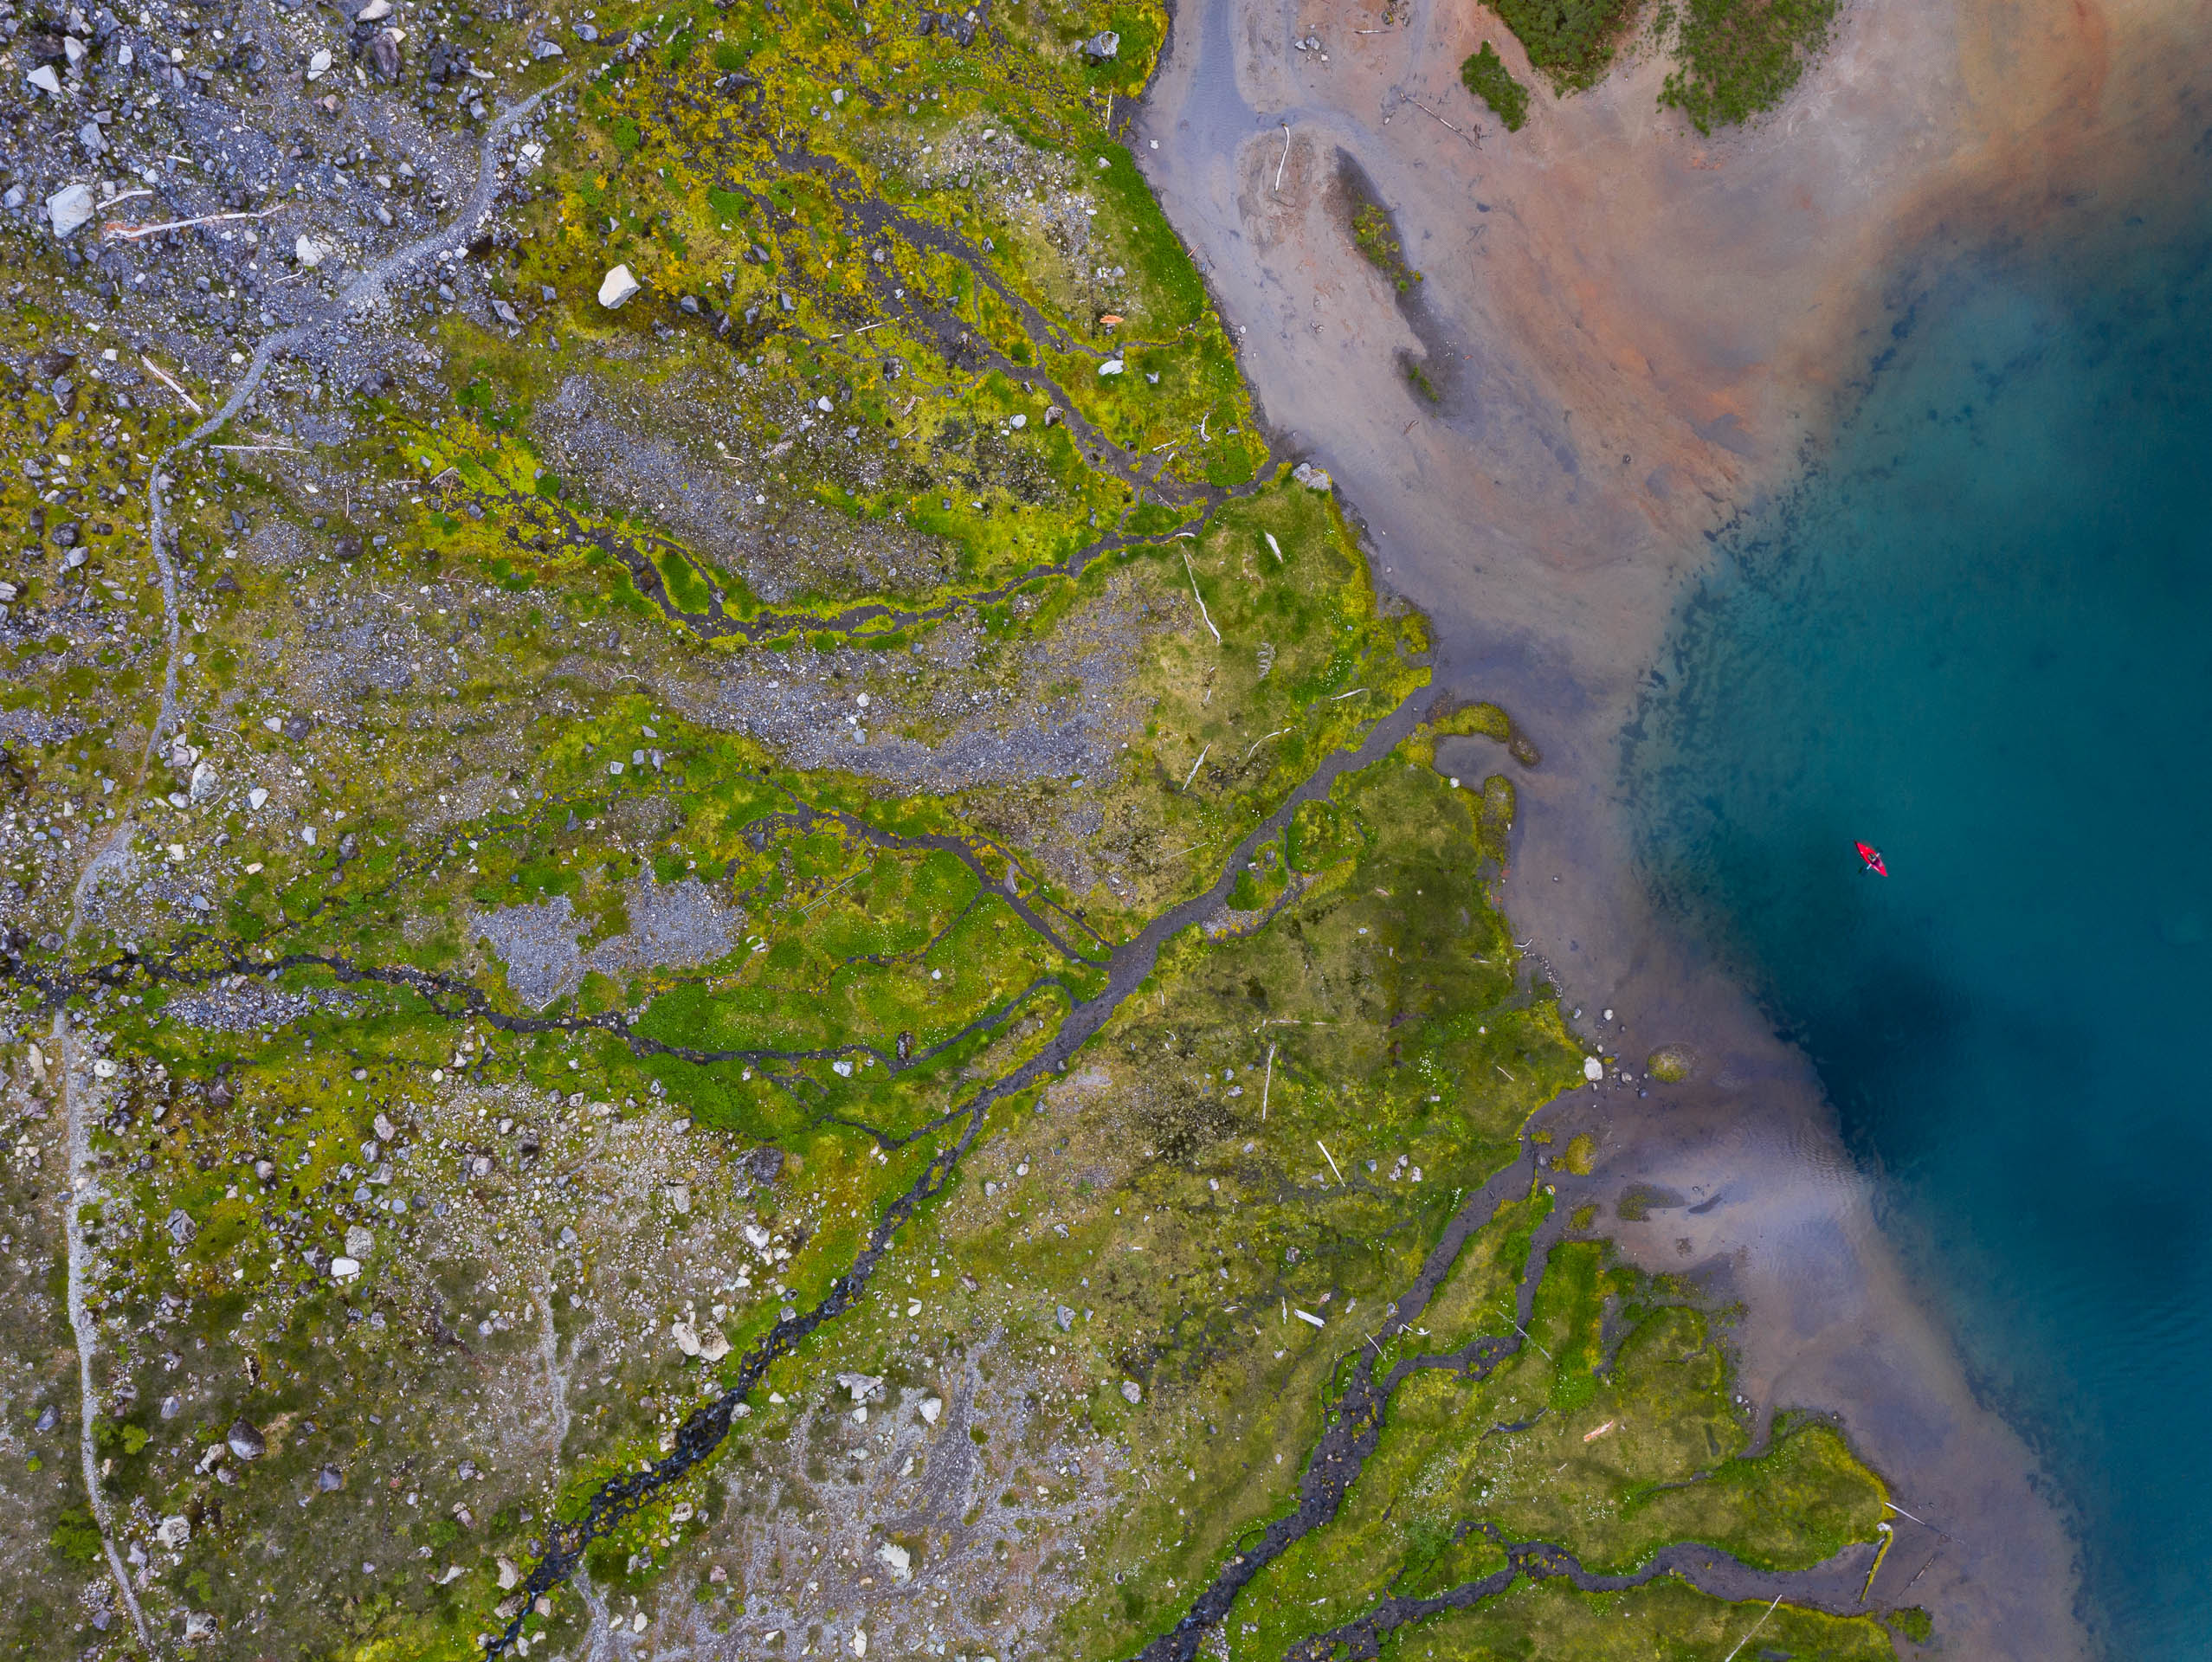
Overall, capable camera and able to capture beautiful light.
As in most cameras, image quality will be best at base ISO. Since the drone is in the air and prone to movement, faster shutter speeds will result in cleaner images. Another important note is to let the drone “settle” and hover in place before clicking the shutter. Taking images while in motion never results in clean images!
The RAW files are adequate and you can expect to recover around 1 stop of detail before quality degrades.
I found the best times to fly are sunrise, the morning, and afternoons on a cloudy day. Sunset gets pretty dark quickly in the PNW and low light is just not a selling point of the drone.
Flying Experience
The drone is extremely easy to fly. There are plenty of sensors and guidance to prevent you from crashing. It practically flies itself. First few flights leave you a bit nervous but once you get the hang of positioning, take off, and landing, you’ll be pushing it to the limits in no time.
Take Off
Extremely easy – just find a flat surface, press the take off button on the remote and the drone will launch itself and hover at a height of 4′.
Landing
Also easy, though not as easy as taking off. There’s a “return to home” feature in which the drone will automatically fly back to the take off spot and land. I found this to be very precise and the drone lands in exactly the same spot it takes off from. Very impressive!
Sometimes there won’t be a flat surface so I’ve taken off from my backpack a few times. Just make sure none of the straps are in the way!
Flying
The sensors warn you of obstacles near the drone. The point in all directions so you’ll have 360 degrees coverage. In some flying modes these sensors are disabled (sport, cinematic, etc) but if you fly in the regular mode it’s difficult to crash. Takes a while to learn how to position yourself for the shot but once you get the hang of it it’s a breeze. (Use your feet, not the zoom!)
Remote
I use the remote that uses your phone as the display. I’ve had issues where the phone will disconnect from the remote. This is annoying as you lose eyes of the drone and if you’re in the middle of filming you’ll have to restart. The remote stays connected to the drone, so you can still press ‘return to home’ but your screen won’t be transmitting the image. I’ve been able to get around this by using a different cable, but the standard one supplied by DJI hasn’t worked well for me.
Battery Life
Each battery gives around 25 – 30 minutes of flight time. Considering positioning and take off / landing times, you get a good 20 minutes of air time to capture content. This is among the best in the consumer drone world and for the size of the setup, what more can one expect? I haven’t had situations where I couldn’t just land and use a new battery to keep capturing either. Of course, longer battery life is always better but I don’t consider it a hindrance in it’s current state.
Where to fly
I found airmap to be very helpful in determining whether I can fly or not. For example, this is a view of Mount Baker National Forest and Artist Point Ski Area.
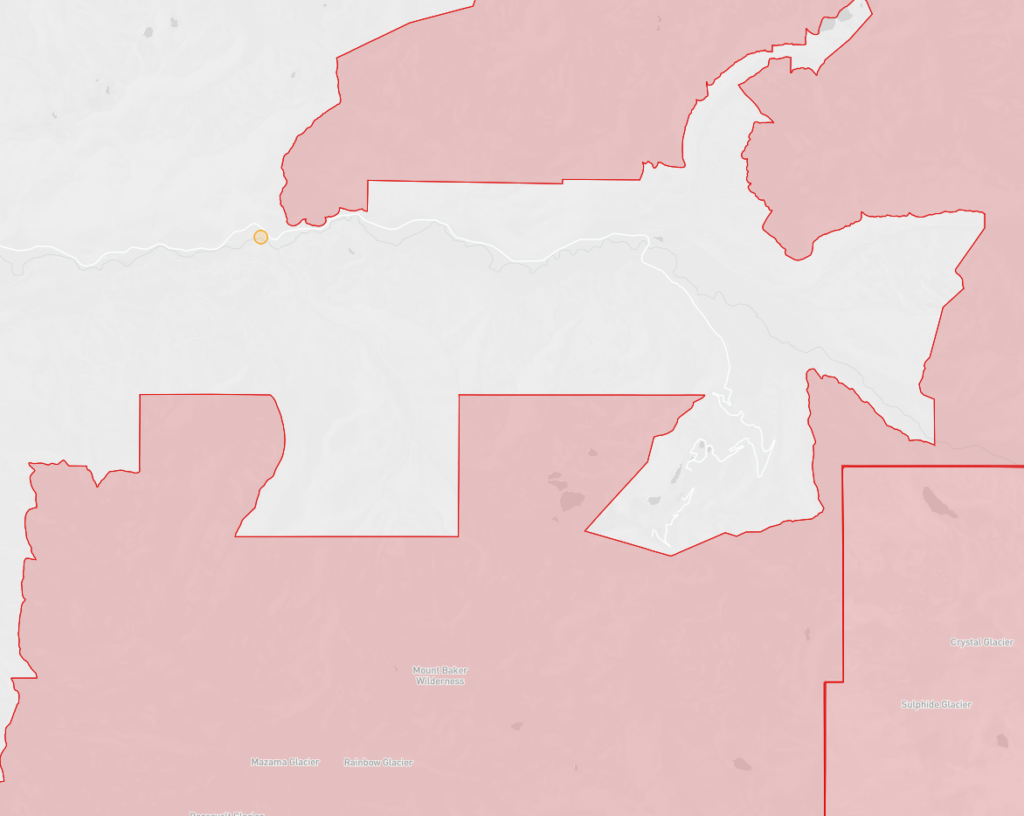
Red means no go. National Forests are a great place to fly and offer tons of opportunity to capture landscape and nature shots. Remember to check local laws as well. (As an example, Mt. Saint Helens National Monument isn’t red on airmap but park rules prohibit you from flying). No flying in National Parks!
Accessories
The drone comes with pretty much everything you need to start flying, so there aren’t too many extra things you’ll need. However, I would recommend the following:
DJI Mavic 2 Pro Fly More Kit: This bundle gives you 2 additional batteries, a carrying case, extra propellers, a multi-battery charger, and a car charger. Considering that each individual battery usually costs $159, the bundle is a decent deal.
PolarPro Circular Polarizer: A polarizer will help cut out glare and reflections and give you higher contrast photos while in the air. I found the PolarPro polarizer to be of good quality and decent price.
RAVPower 100W Power Bank: I found this to be the easiest way to charge the drone while in the wild. You’ll need a minimum of 100W power bank to be able to charge the drone batteries so they don’t really get smaller than this. However it charges are regular speed and is good for 5-7 charges. You’ll be able to charge your laptop, phone, camera, etc as well.
Conclusion
Would I recommend the DJI Mavic 2 Pro? Yes! If you live in an area where you can fly the drone legally and have been wanting to get into aerial imaging, then the DJI Mavic 2 Pro won’t leave you disappointed. If you prefer videos, you may want to check out the Zoom instead.
The drone is easy to fly, easy to shoot with, and produces great images. I’ve had tons of fun flying. I’m sure future generations will produce even better images, but most of photography is about the composition and light anyway and not the equipment. Being in the air gives you a new perspective and for landscapes you definitely won’t regret it.
Check out the gallery below for more sample images, and don’t forget to connect with me on Instagram! (I post way more frequent updates there)
Gallery


Jonathan
Hey there, I’m Jon! I love landscape photography which is why I travel all the time! On my blog I’ll share all the best spots for epic sunsets and sunrises as well as some photography tips and tricks. I also have a interest in game design so you’ll find the occasional post about that too. Thanks for visiting!
